Designing the EXPress, an all-button arcade controller
I’ve always liked the concept fighting games. They are an intense 1v1 competition between two people that tests both mechanical skill and decision making. It’s like if there was a rule in Chess that you could take another turn before your opponent if you saw them making a sub-optimal move. The gap in skill between a beginner and an expert is extremely wide and extremely clear to see.
Yet fighting games also have a passionate community of learners. There is a real sense of honor and camaraderie among fighting game players. It is frowned upon to beat someone once and not offer to play them again. The expectation is to let people try to learn and compete on the most even playing field possible. The issue I’ve always had with fighting games is inputs.
Fighting games are unique from most other games in that most require motion inputs. For example, a quarter circle move is done by pushing the movement stick down, then to the lower right, then all the way right all very quickly. This is combined with an attack button to do a special move. I find motion inputs painful after more than a bit of practice.
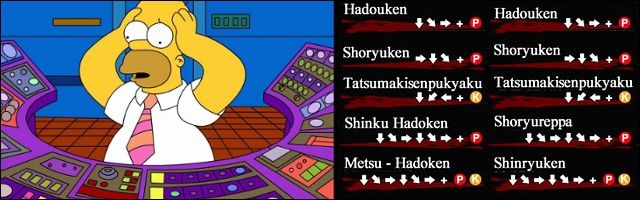 Fighting game inputs are hard
I thought fighting games just wouldn’t really be for me until I discovered “leverless” or “button box” controllers. These controllers are all buttons and replace the traditional movement stick with four independent buttons for the four cardinal directions. I experimented with this a bit and it was a game changer for me. Not only were motion inputs less painful, I could do them more consistently. Sometimes, when trying to roll a joystick quickly, you might not push it enough in one direction for the move to register. With buttons, you know precisely if you hit a direction or not.
So this was perfect, I had a style of controller I liked, and now I was ready to play. Except there was just one more problem: I didn’t like any of the leverless controllers available to buy.
Concept and prototyping
Here’s what I wanted out of a controller:
- Compact
- Easy to decorate
- Relatively high-quality feeling. I didn’t want it feel like a rough 3D print when I rested my hands on it.
- Some sort of lighting feature would be a nice bonus.
- As inexpensive as possible to make
I decided to design my own controller. It seemed like the perfect level of challenge that wouldn’t be too overwhelming but would also teach me several new things.
I actually started on this over a year ago. Originally, I wanted to make the body of the controller out of a series of sandwiched acrylic plates.
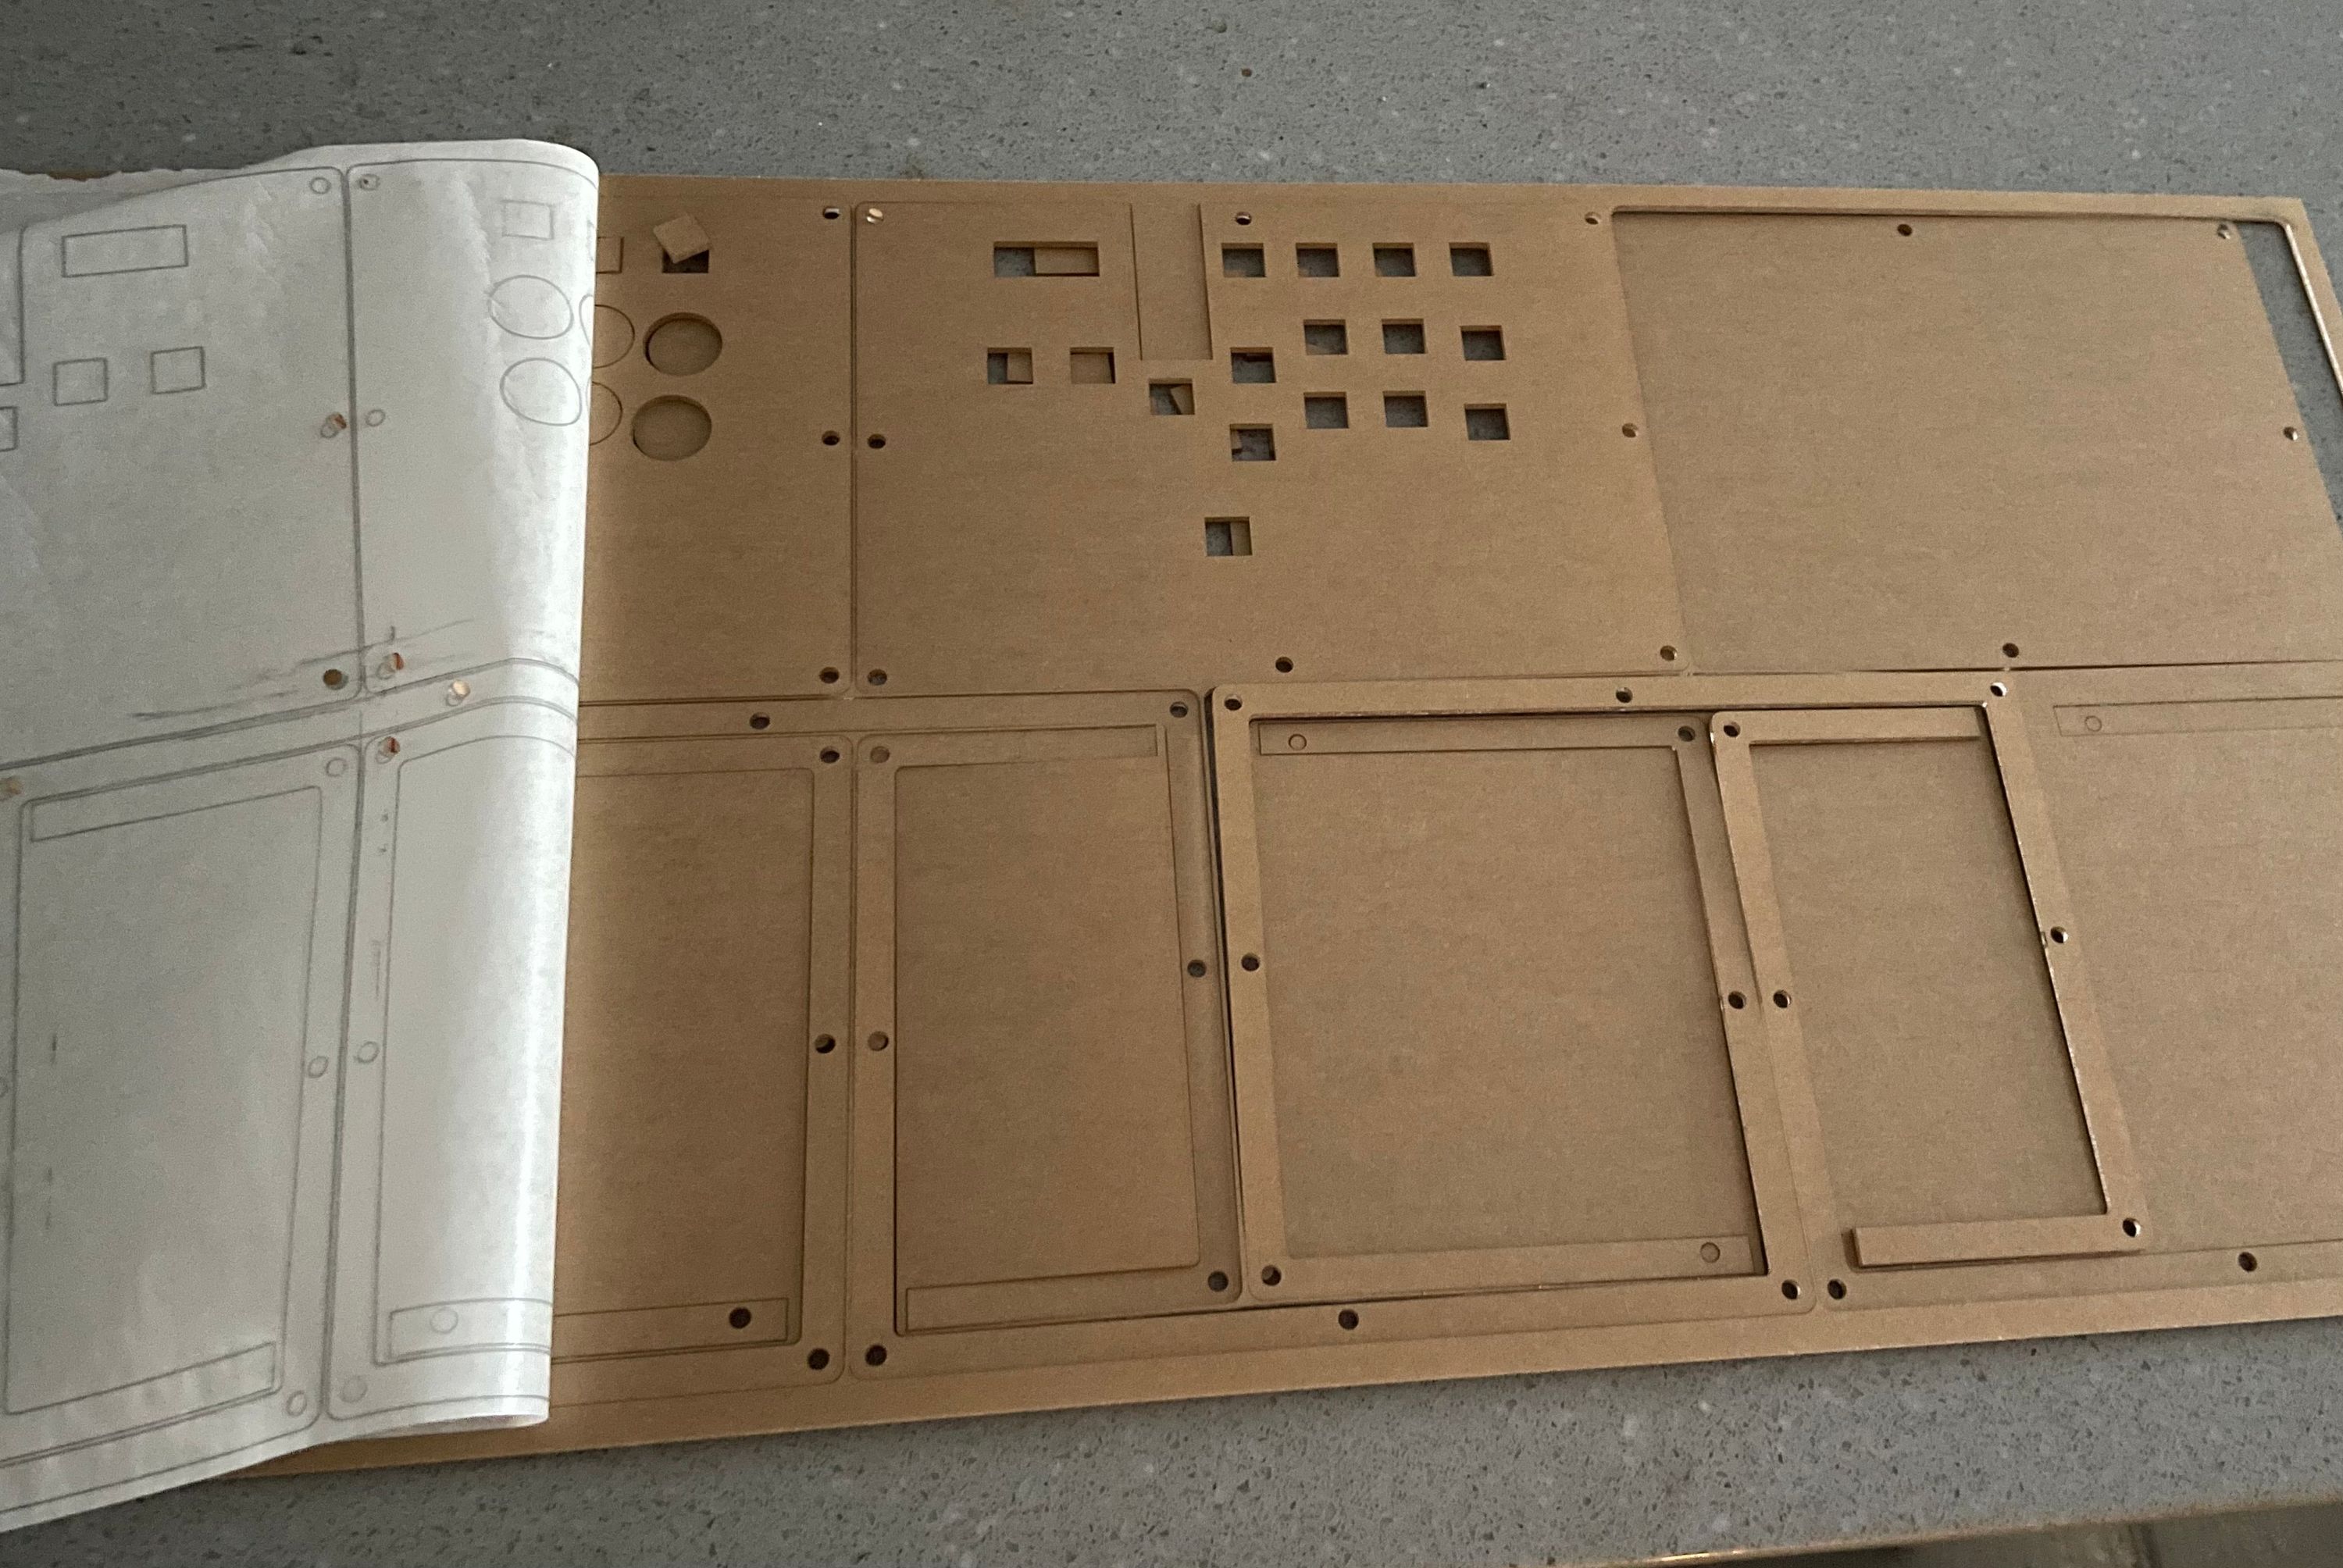 Acrylic sheets in paper
Early on, I also had the idea of making the “face” buttons (the main actions you press) use Choc switches and the “option” buttons (the extra buttons on a controller) use MX switches. I thought this was a fun idea because there are lots of artisan MX keycaps out there, but not a lot of opportunity to use them. Using them for the option buttons works well because you don’t hit them regularly or quickly, so even a strange-feeling artistan keycap wouldn’t get in the way very often.
Meanwhile, Choc switches have a shorter actuation distance, so they are slightly faster for time-sensitive inputs, which is ideal for the buttons you hit in a match.
Finally, this combination of switch types was also just not something I had seen done before. It was an interesting challenge I wanted to tackle. So, the very first version of my controller looked like this.
 The first ever version of the EXPress
The main issue with mixing Choc and MX switches is they have different total heights. So, if they both clip into the same plate, MX switches will extend farther down that Choc switches. Even without really accounting for this, my first version worked.
 I’m practicing a simple anti-air
However, the PCB just sort of angled in and I worried about the long term reliability of the switch connections.
After some more prototyping and work, I decided on an interesting approach: I designed the PCB so it could be used flat (for all Choc switches) or staggered for mixed switch types by breaking off parts of it so they would “float” lower than the rest of the PCB, secured by the switches themselves.
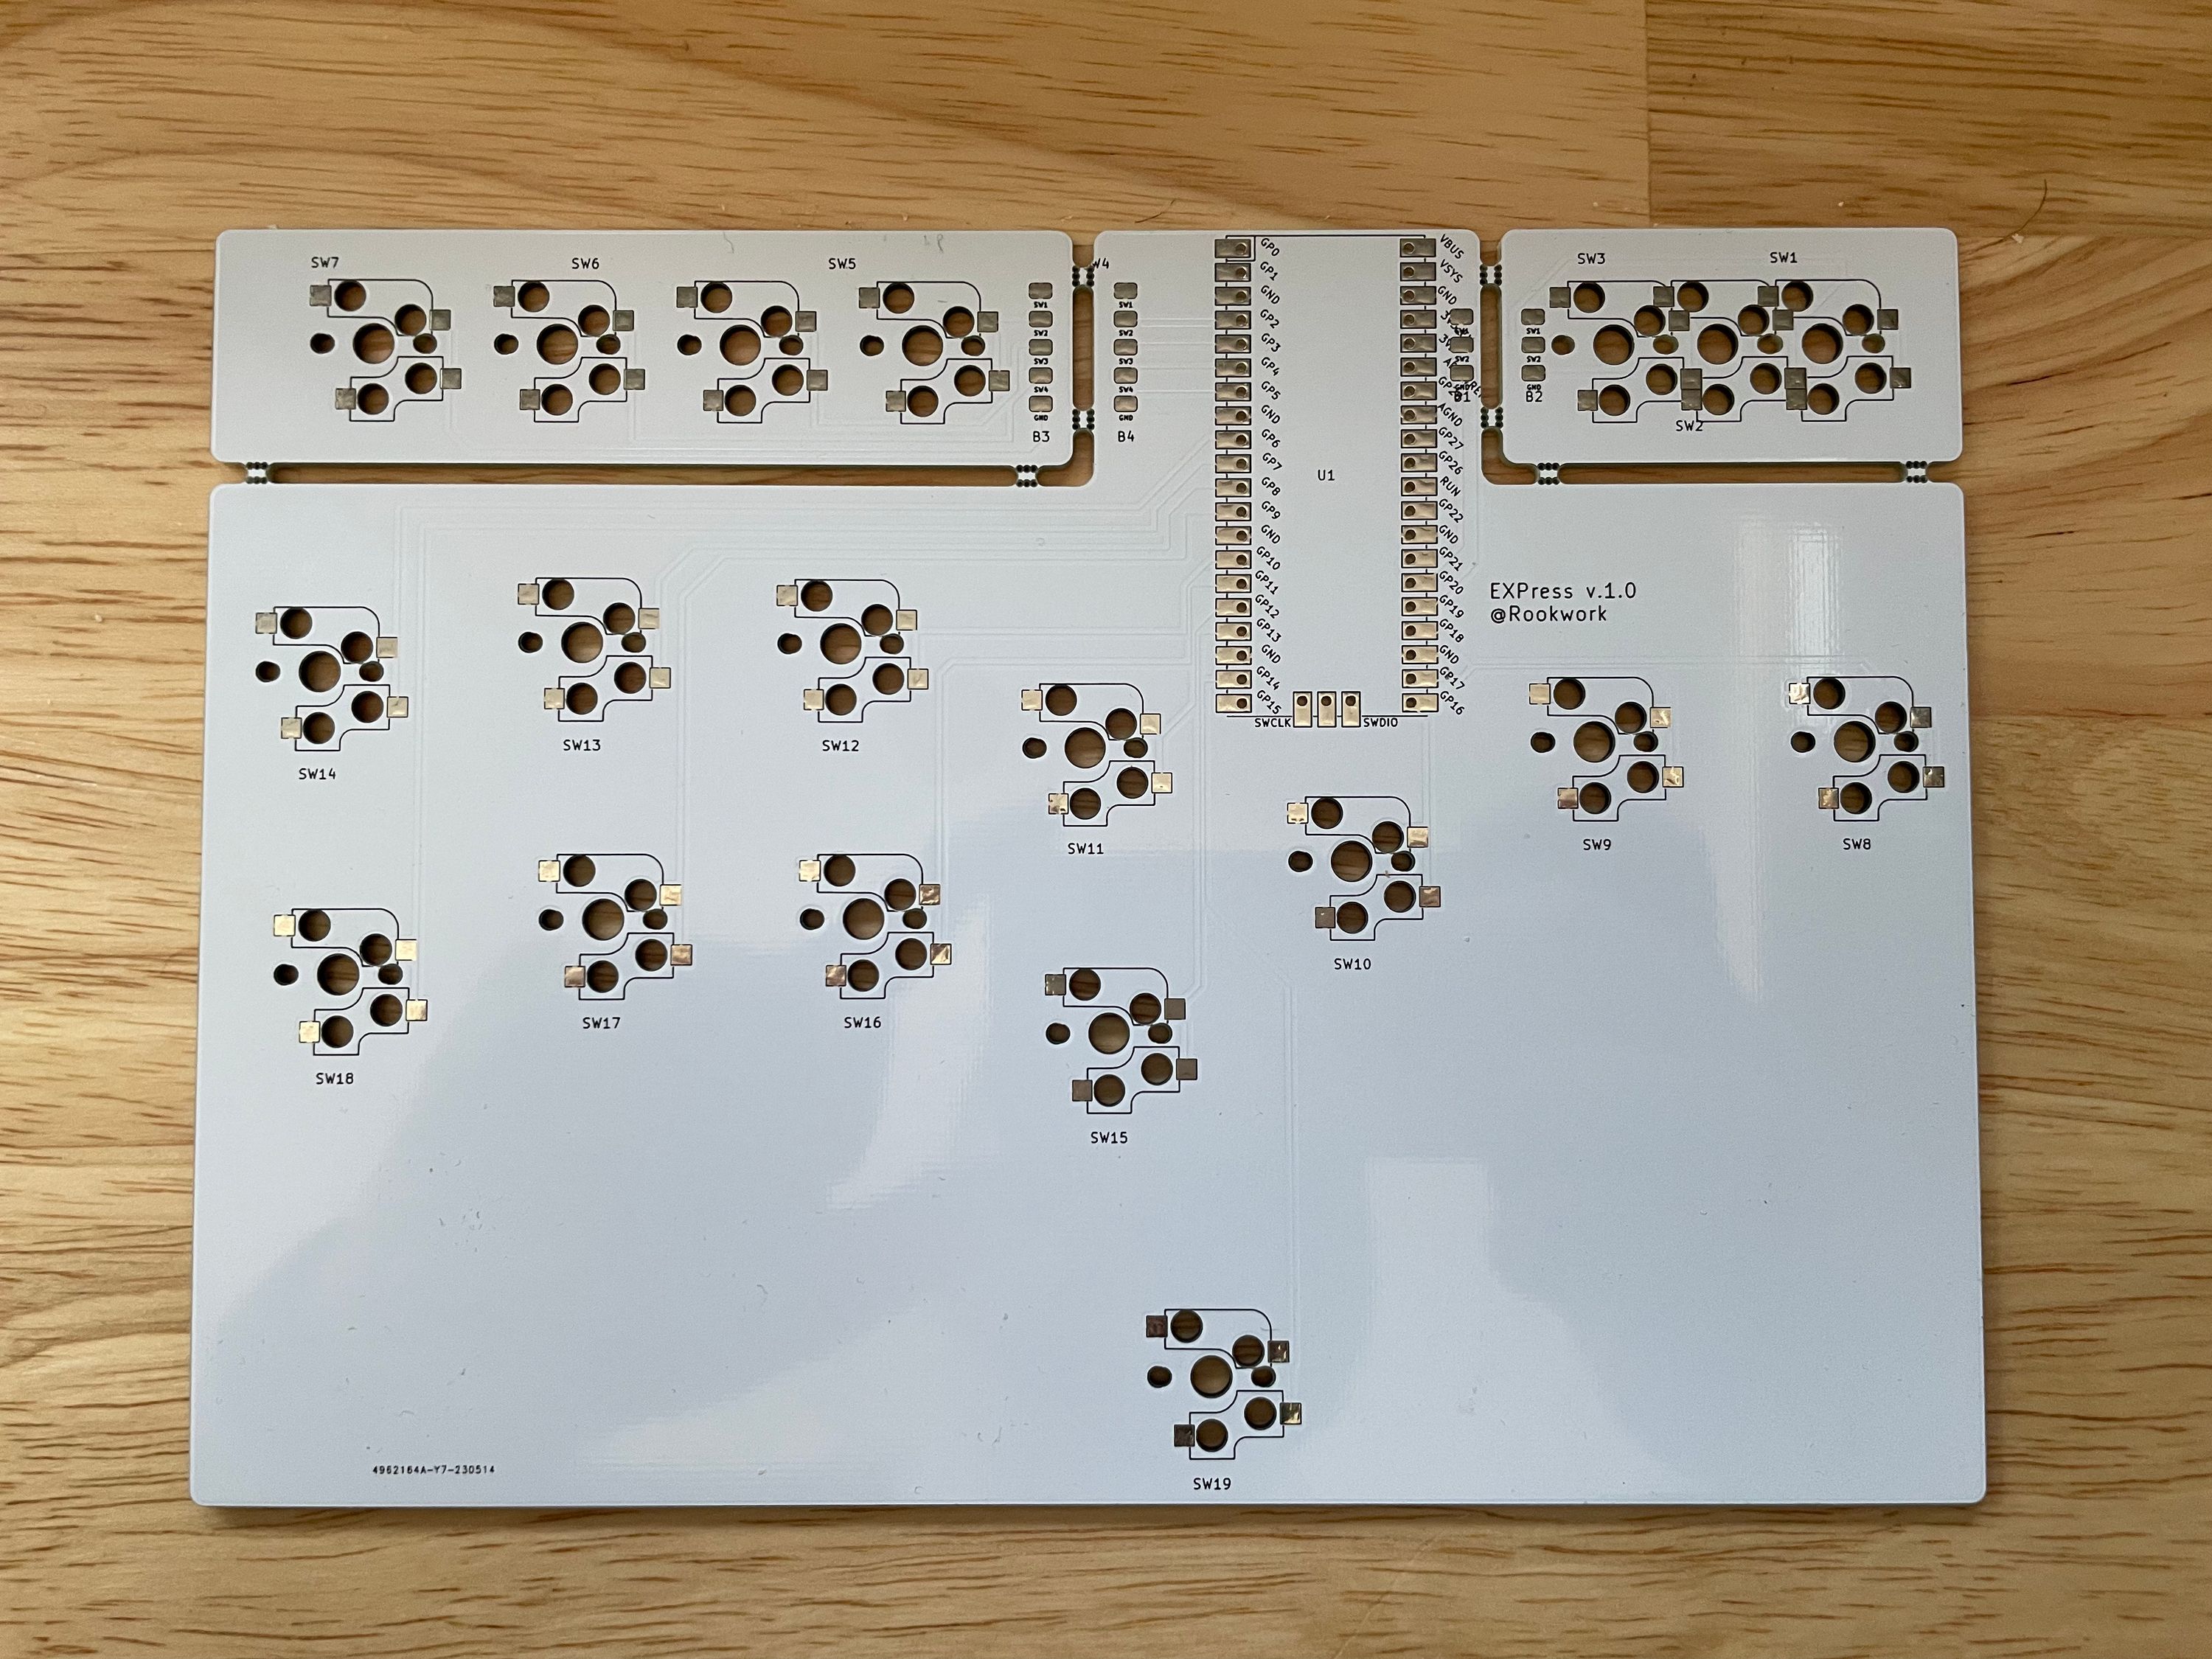 The two rectangles at the top corners can break off
Unfortunately, I never made a controller using this PCB. I still felt like I was missing a more fundamental design aspect, and I just lost steam. I set aside the project for several months.
Returning to the project with a new idea
Secretly, I had another idea for the project all along, but I just didn’t have the confidence in my 3D modeling abilities to pull it off. I don’t know exactly what made me decide to just go for it recently. I think part of it was finding out about Plasticity, a 3D modeling program that worked mostly how I wanted it to at a price that wasn’t outrageous. That gave me the space to experiment and figure out, “Wow, this isn’t as hard as I was worried it would be.”
I decided to have the body of the board 3D printed and sandwich the top and bottom with acrylic plates. This gave me more control over the body thickness and it let me do some slightly more complex geometry.
 The concept modeled in Plasticity
After much careful tweaking of the design, I had something I liked. I also went much smaller overall with this version, mostly motivated by the limitations of 3D print size. Ultimately, I think it made for a better result, though. I find some of my most creative ideas come from rigid limitations.
 It worked… almost
My first take on the design was largely successful but with a few key issues.
- First, the height of MX switches struck again. I didn’t properly account for their full height in my design, so that would have to change. Fortunately, Choc switches were still an option for testing purposes.
- I also didn’t size the OLED screen cutout quite right, so I shattered a screen while trying to install it. It wasn’t that expensive of a part, thankfully. An unfortunate casualty of progress.
- The final problem was the wiring.
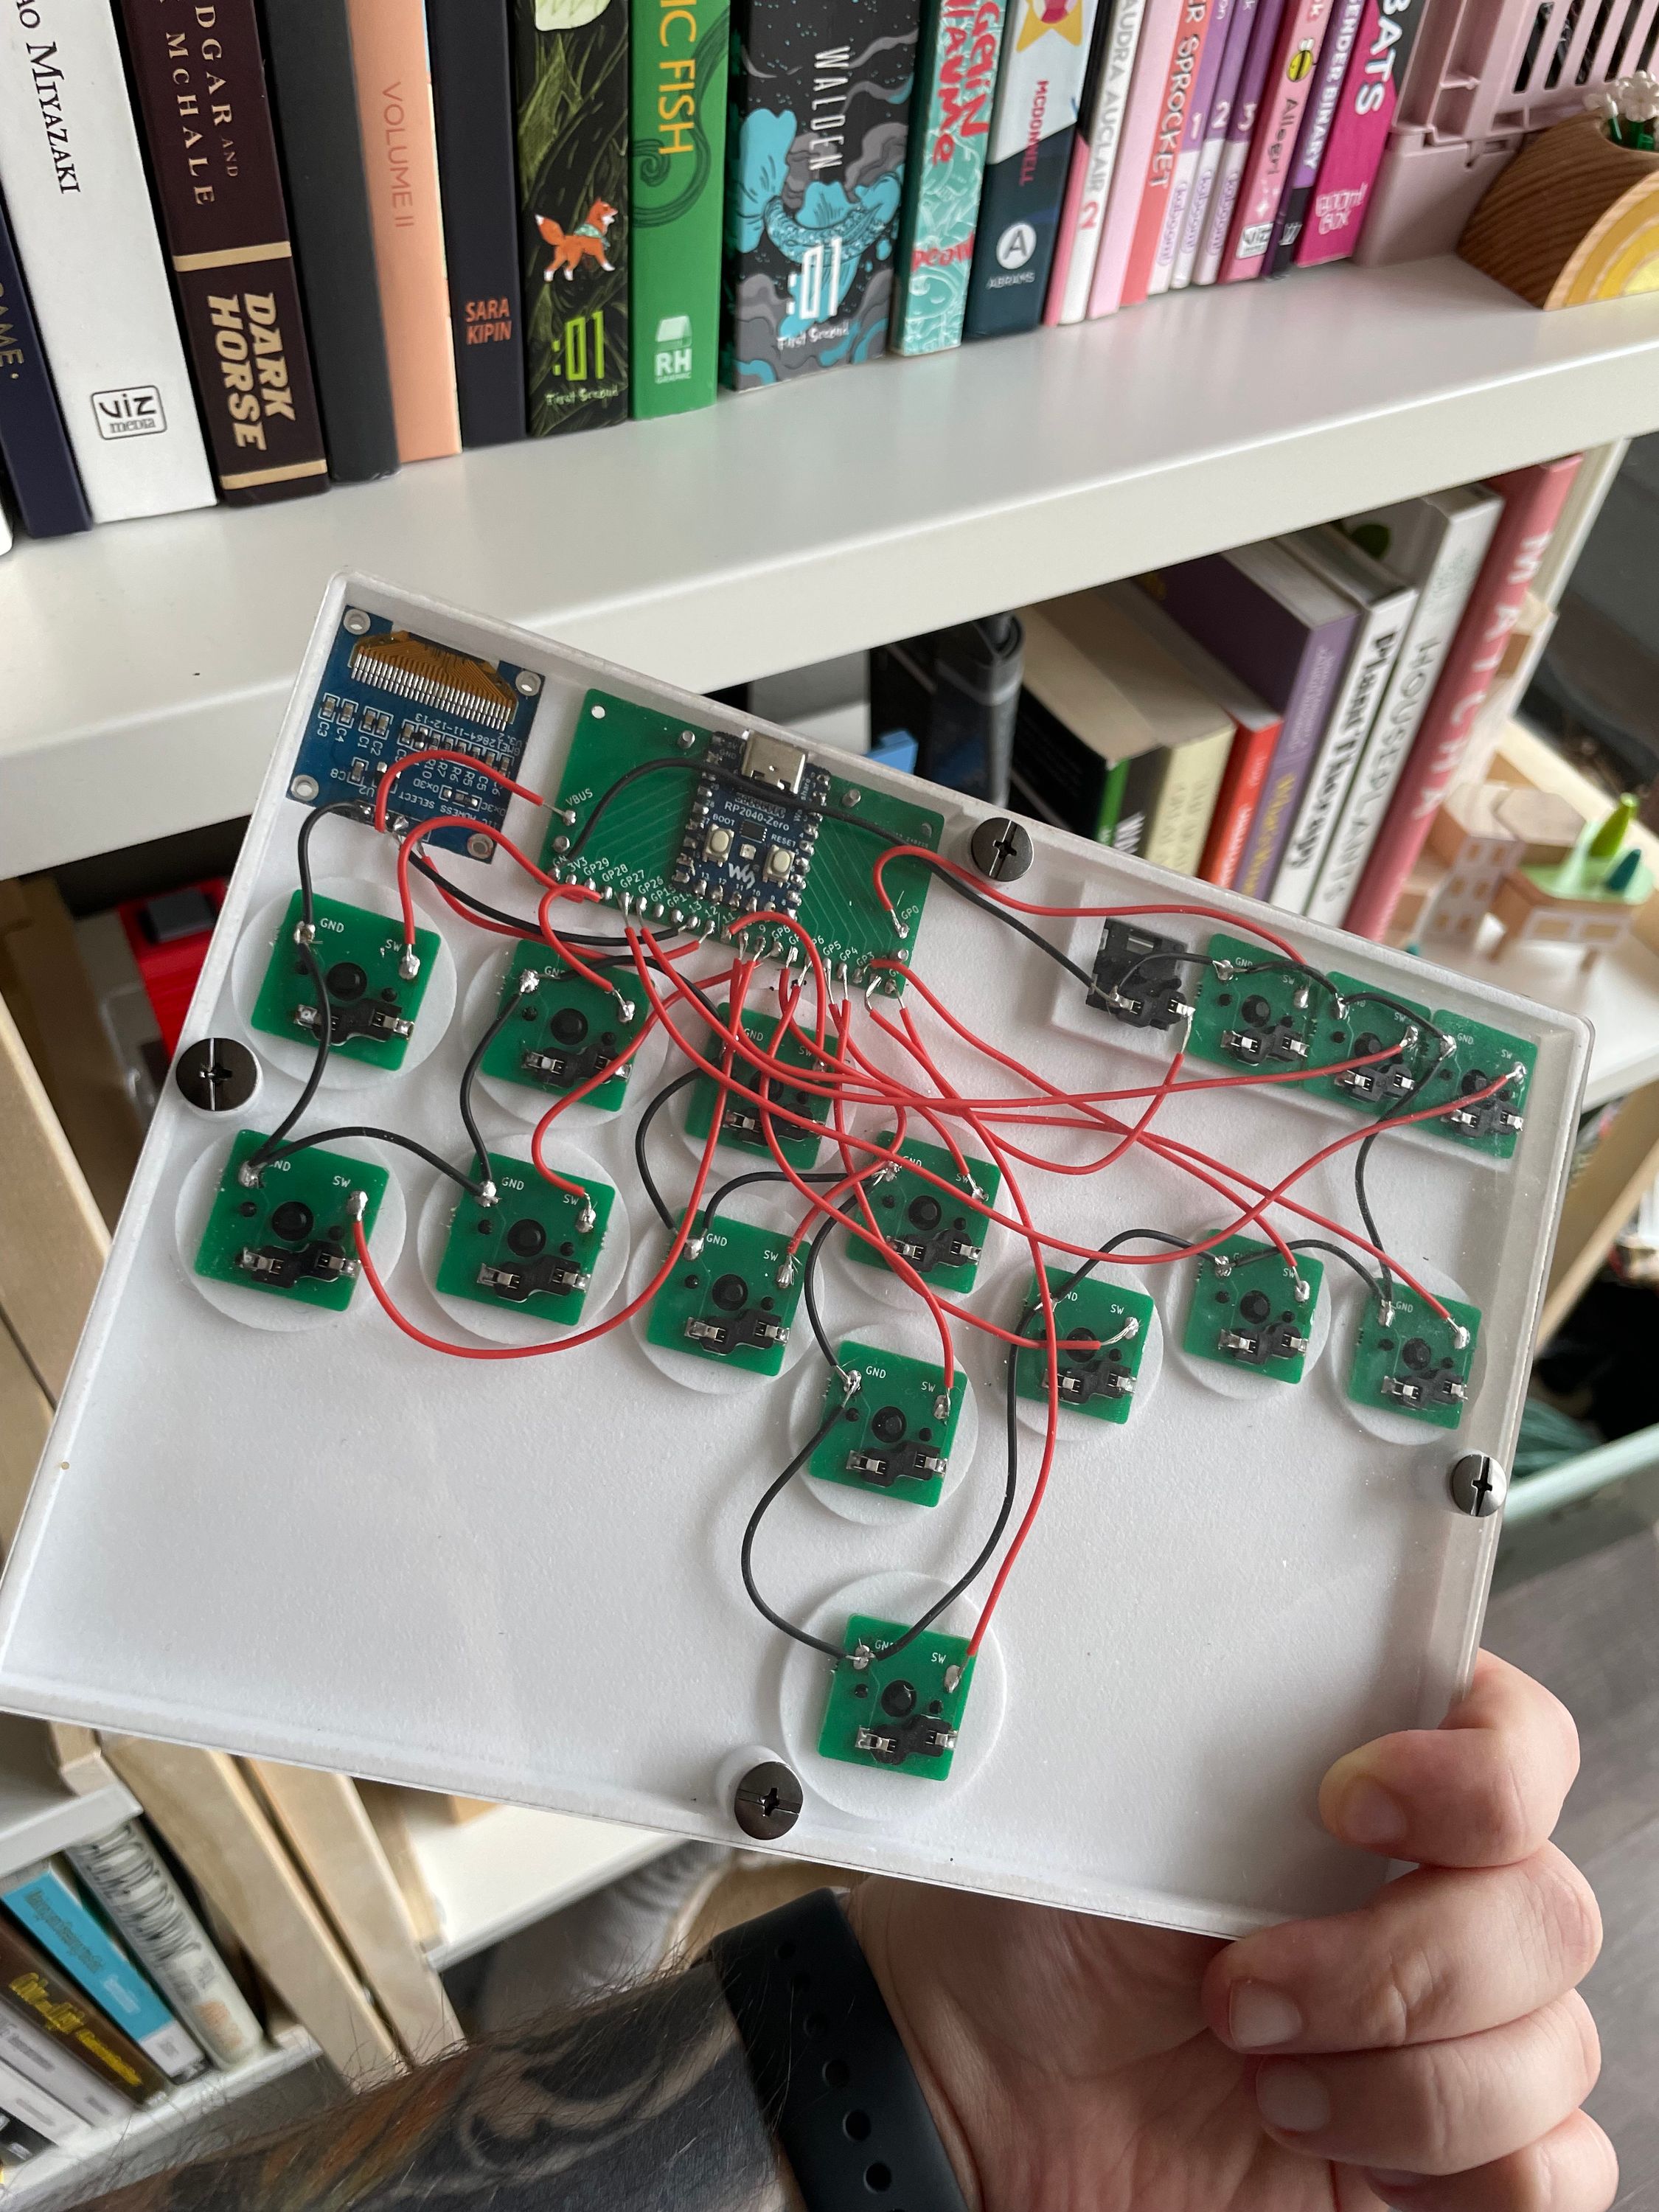 I will never wire like this again
I thought this approach of a small PCB per switch would allow for the most flexibility, and technically is did, but this much manual wiring was unbearably tedious. This took hours to finish, even though it wasn’t difficult soldering at all. While I liked the idea of the flexibility individual PCBs offered, realistically, I wouldn’t be changing the button layout enough to justify it, so I decided to make a large PCB for the face buttons again.
I took inspiration from my PCB design for the previous iteration and made PCBs for each section of the design that I would connect together. This meant I could have various parts at different heights without worrying about bending PCBs or anything like that. After a few more tweaks, I gave it another try.
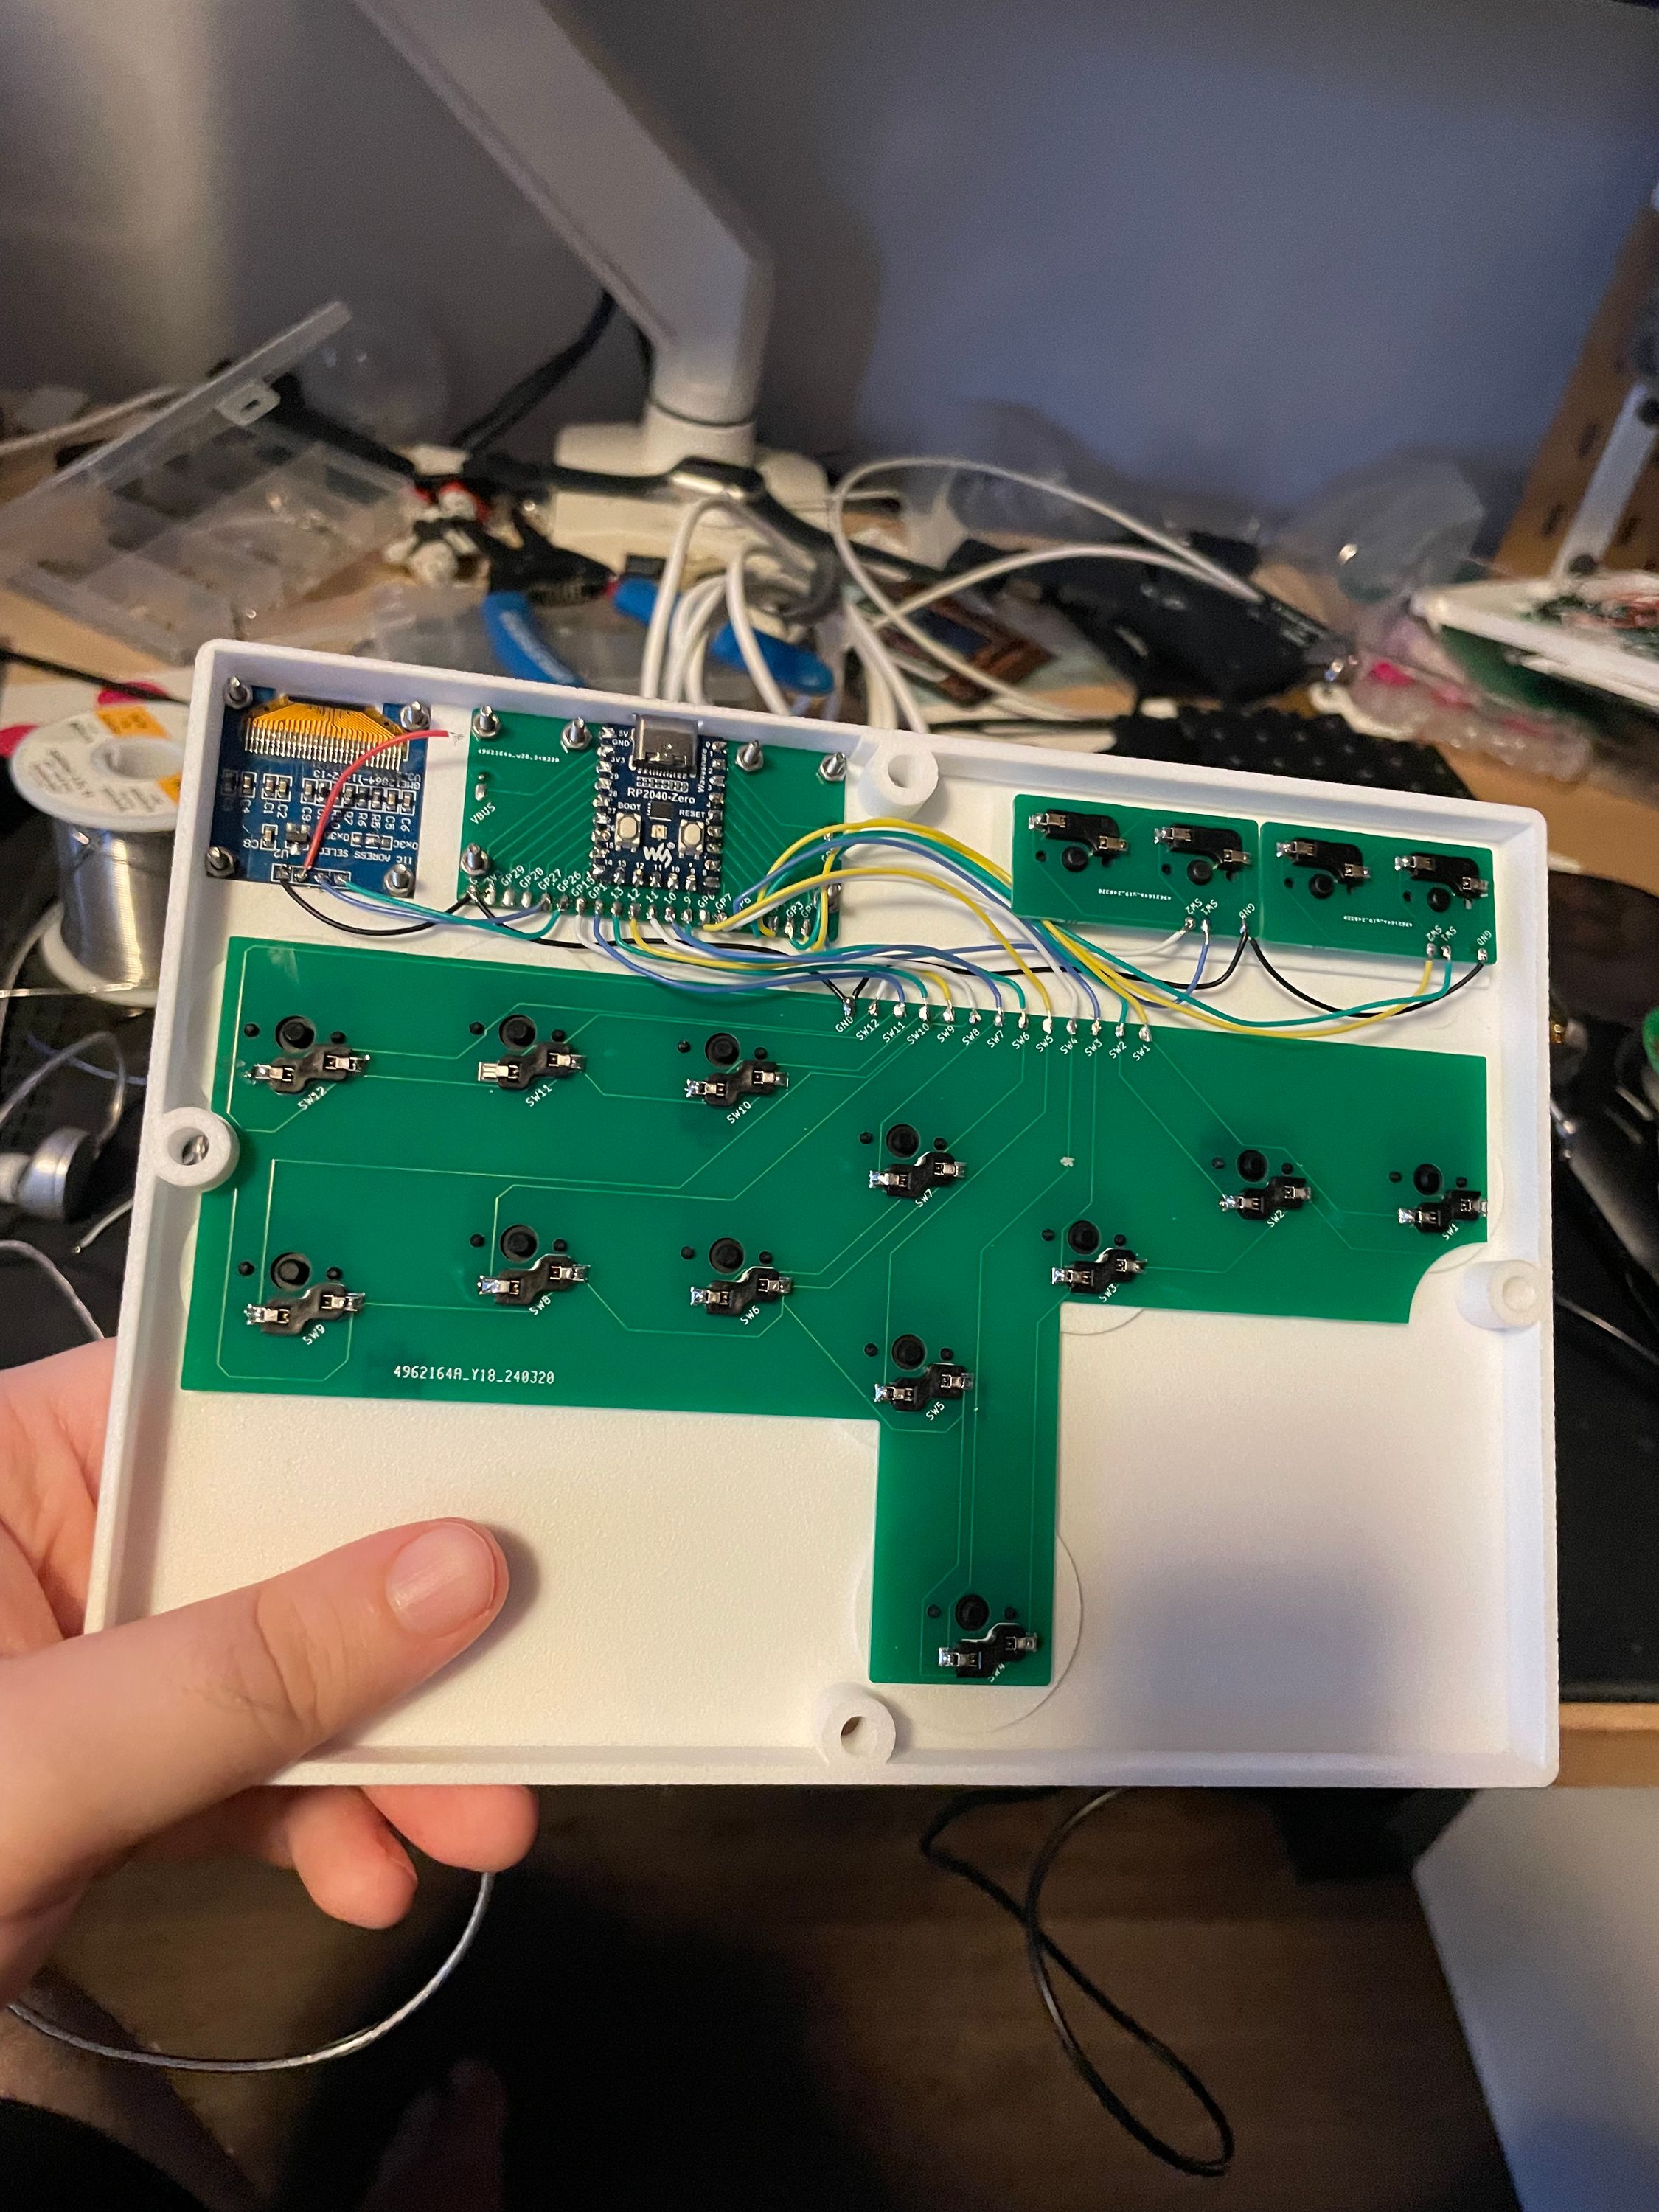 New case and new wiring setup
Success! Everything was working great. I was super happy with the result. Now I just had to prepare the art. Should be straightforward enough.
How I learned to cut a circle
By far one of the most difficult parts of the whole project was one that didn’t even occur to me at the outset: cutting a series of clean circles.
First, I thought that I would just freehand the circles with an X-acto knife. I knew they wouldn’t be perfect, but surely I could get them close enough.
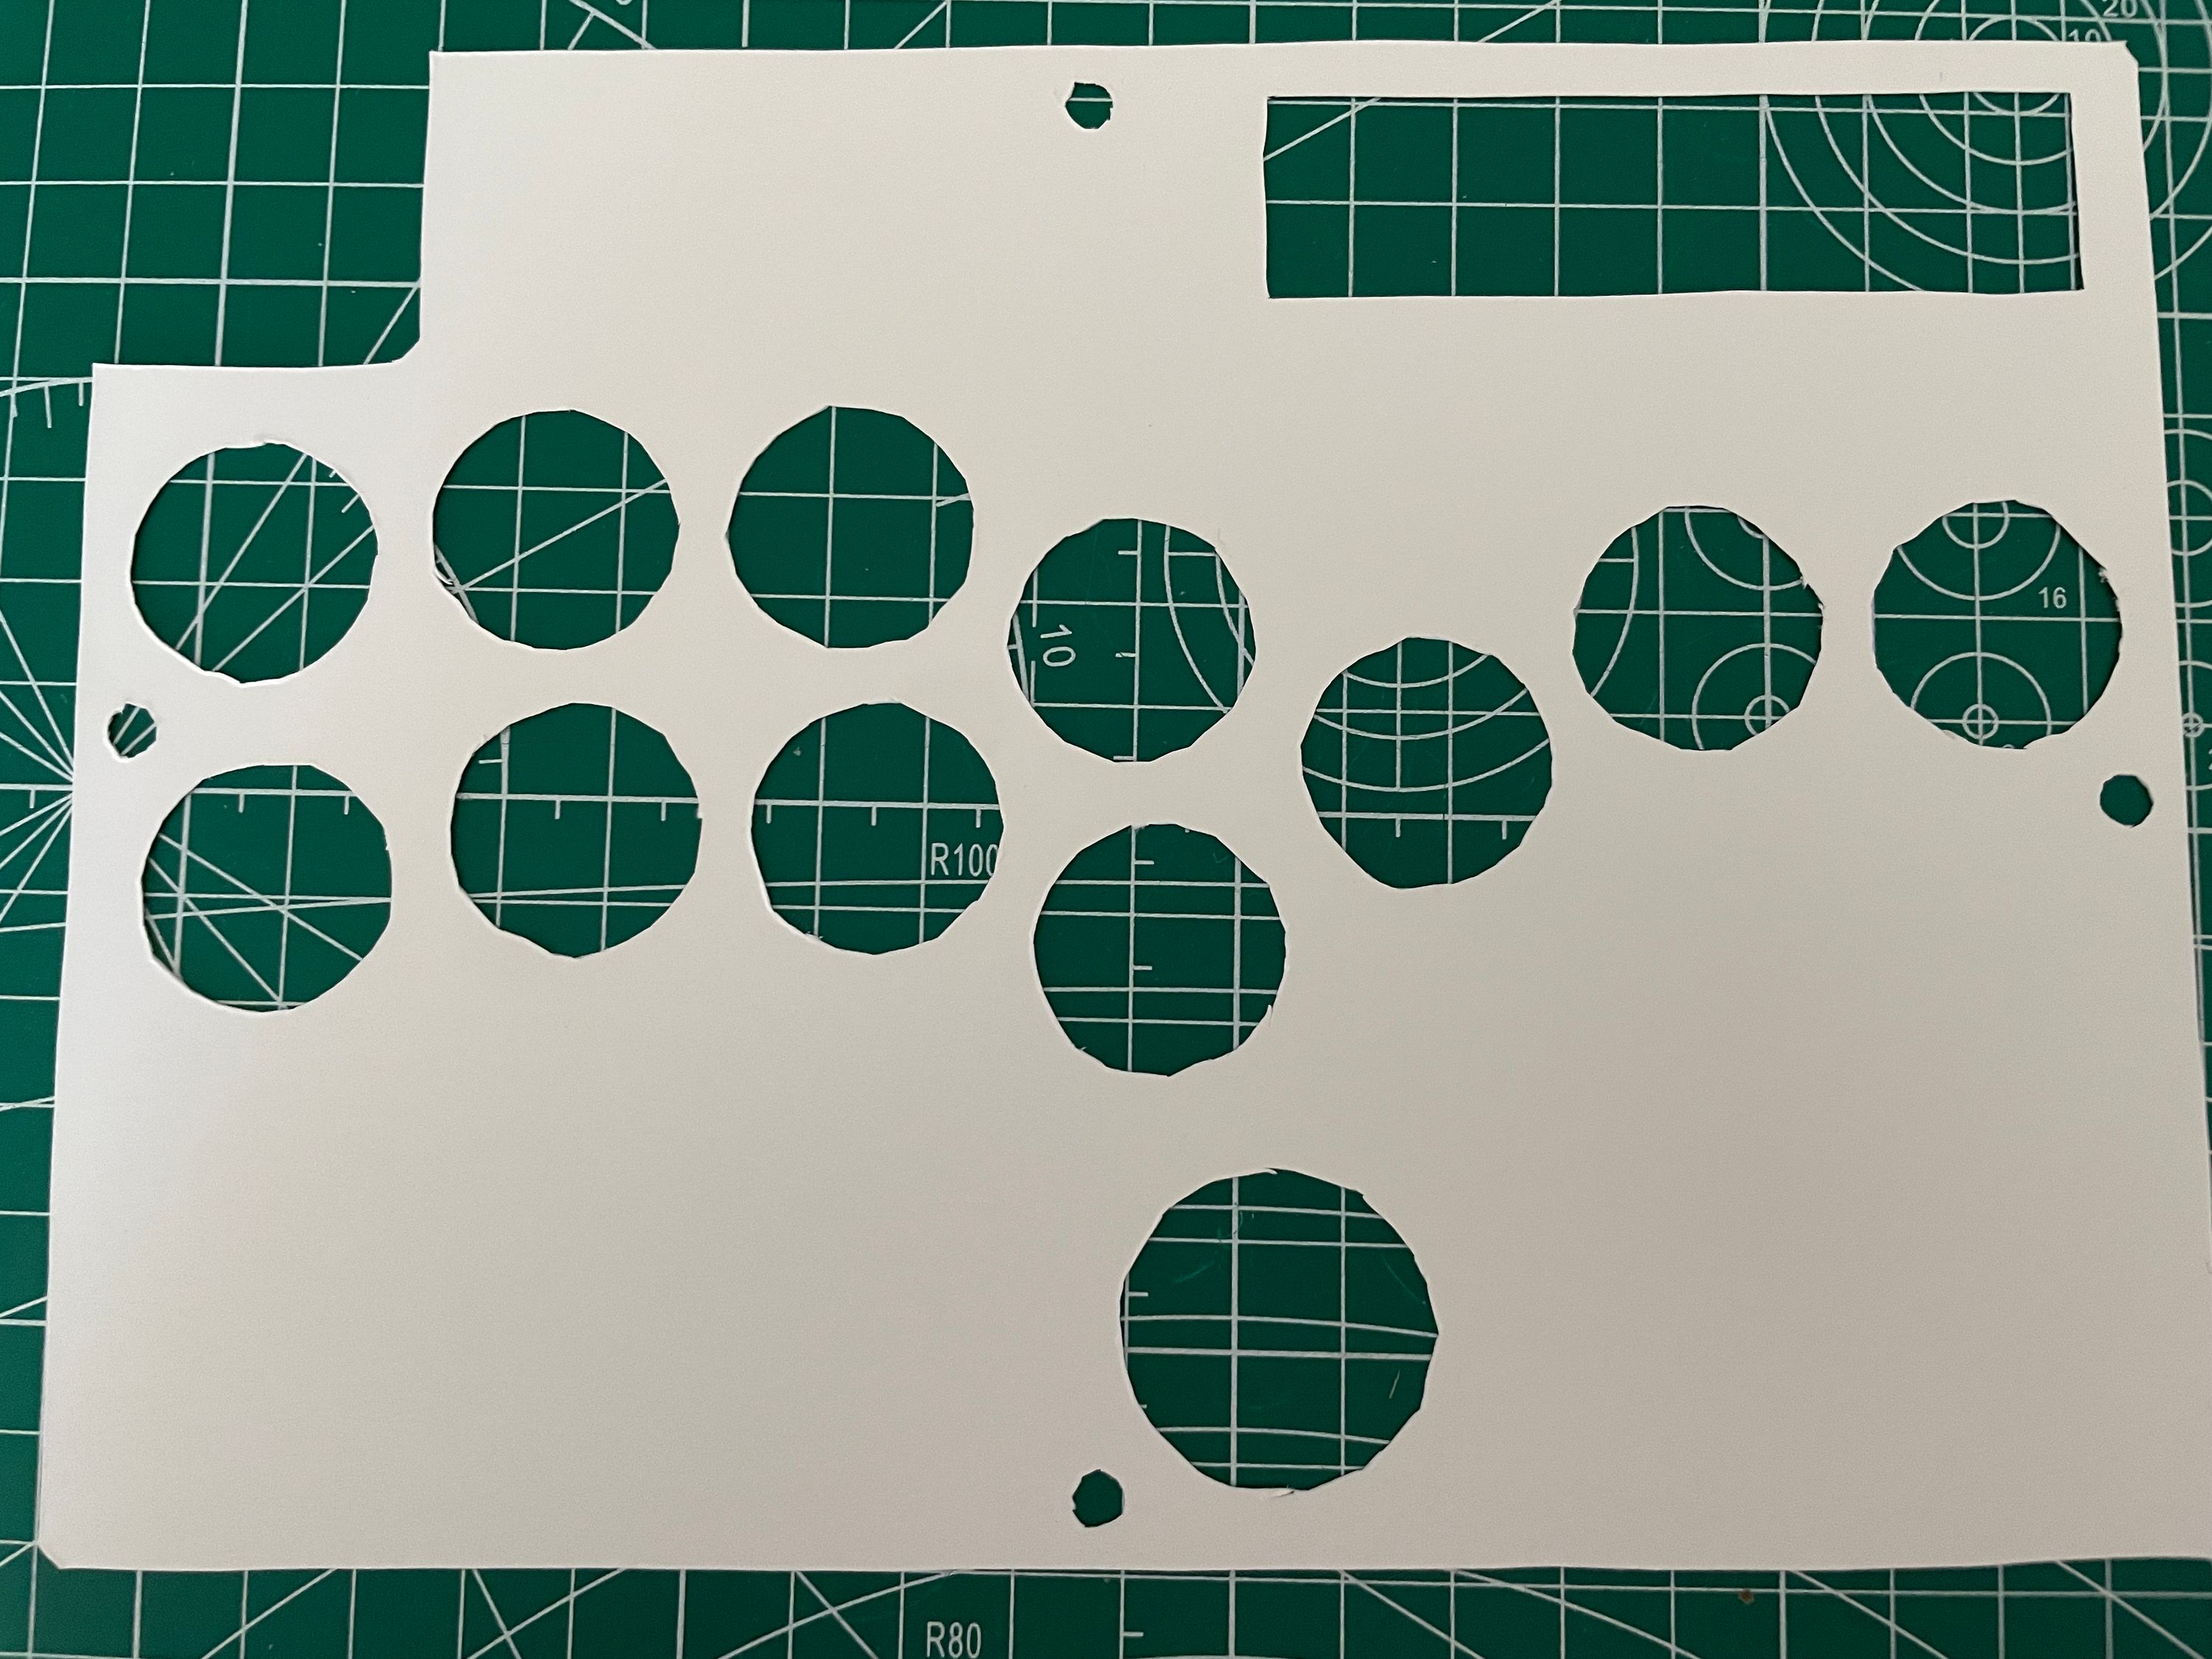 The results of trying to freehand it
I could not.
Next, I thought maybe I needed a special tool, so I purchased a cool circle cutter.
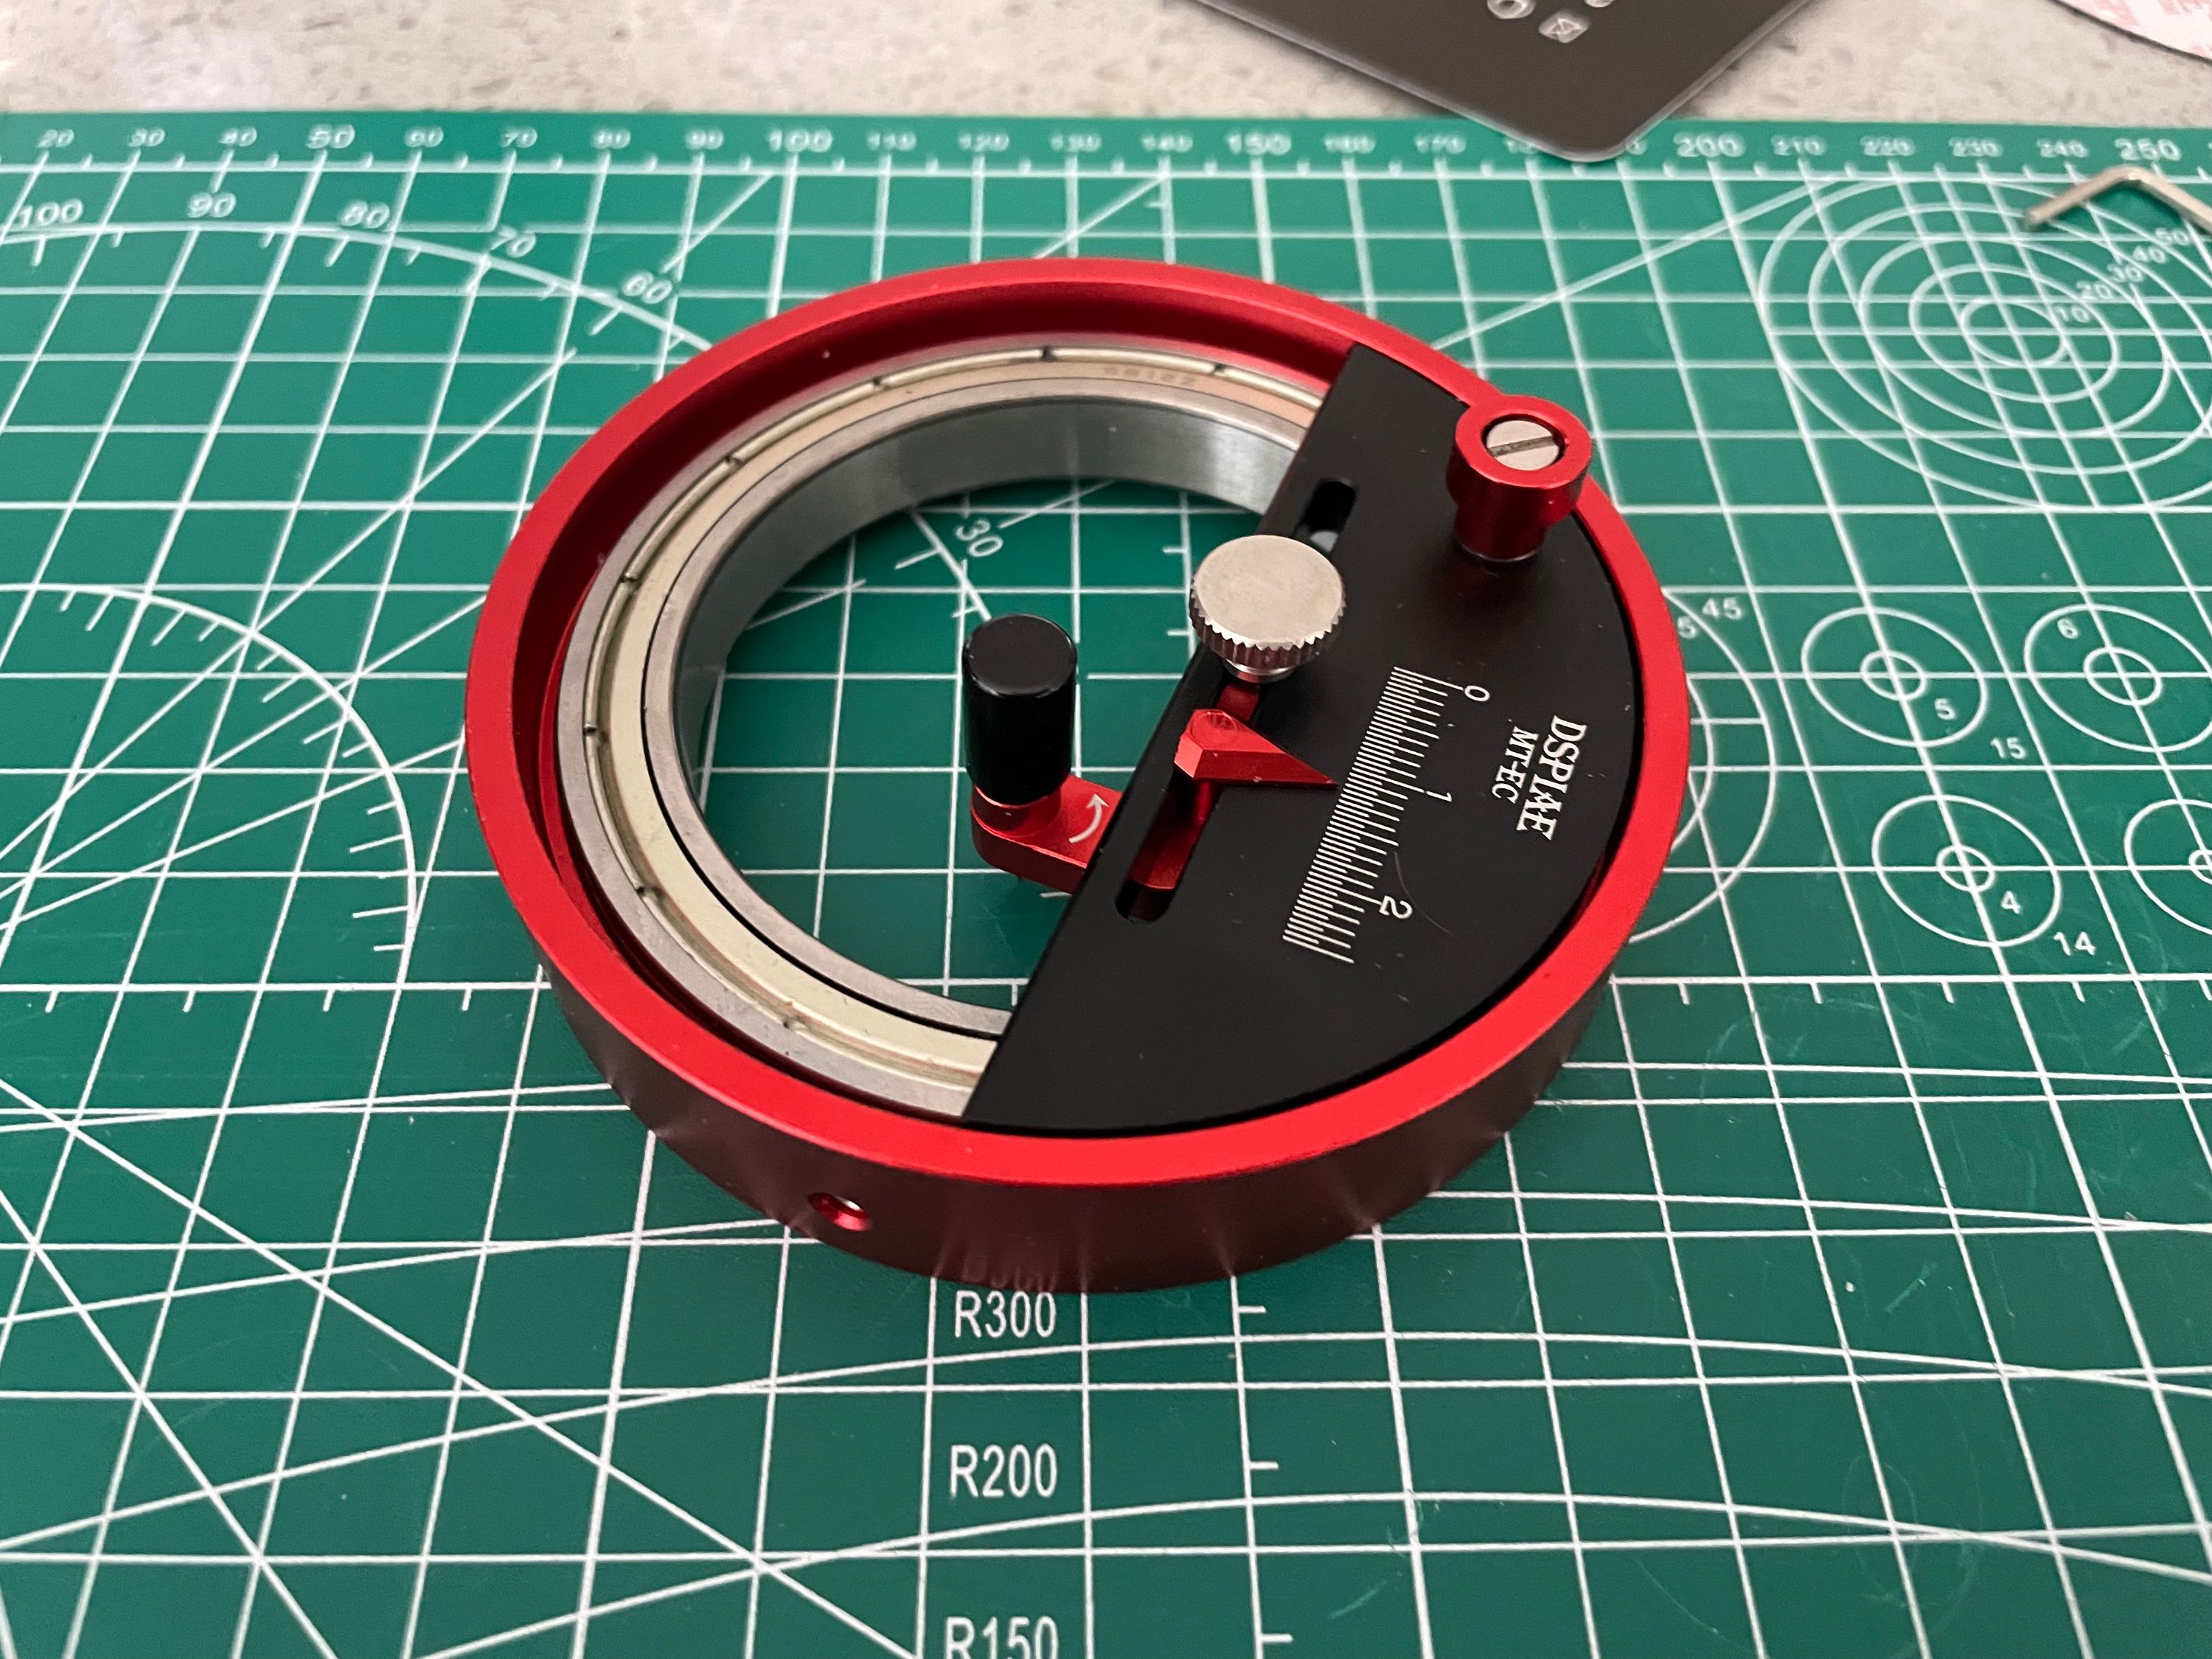 My biggest disappointment
Conceptually, I love this thing. Practically, I despise it. I did dozens of test cuts and I could never achieve any amount of consistency. Sometimes I nailed a great circle, but most times it would cut too deep and shift the paper or not enough and just score it a little. It also didn’t have a sharp enough blade, so it kind of ripped the paper while cutting, which was very noticeable when trying it on the actual printed art.
Fine, maybe my first approach was right and I just needed a slightly better tool. I got a rotating hobby knife:
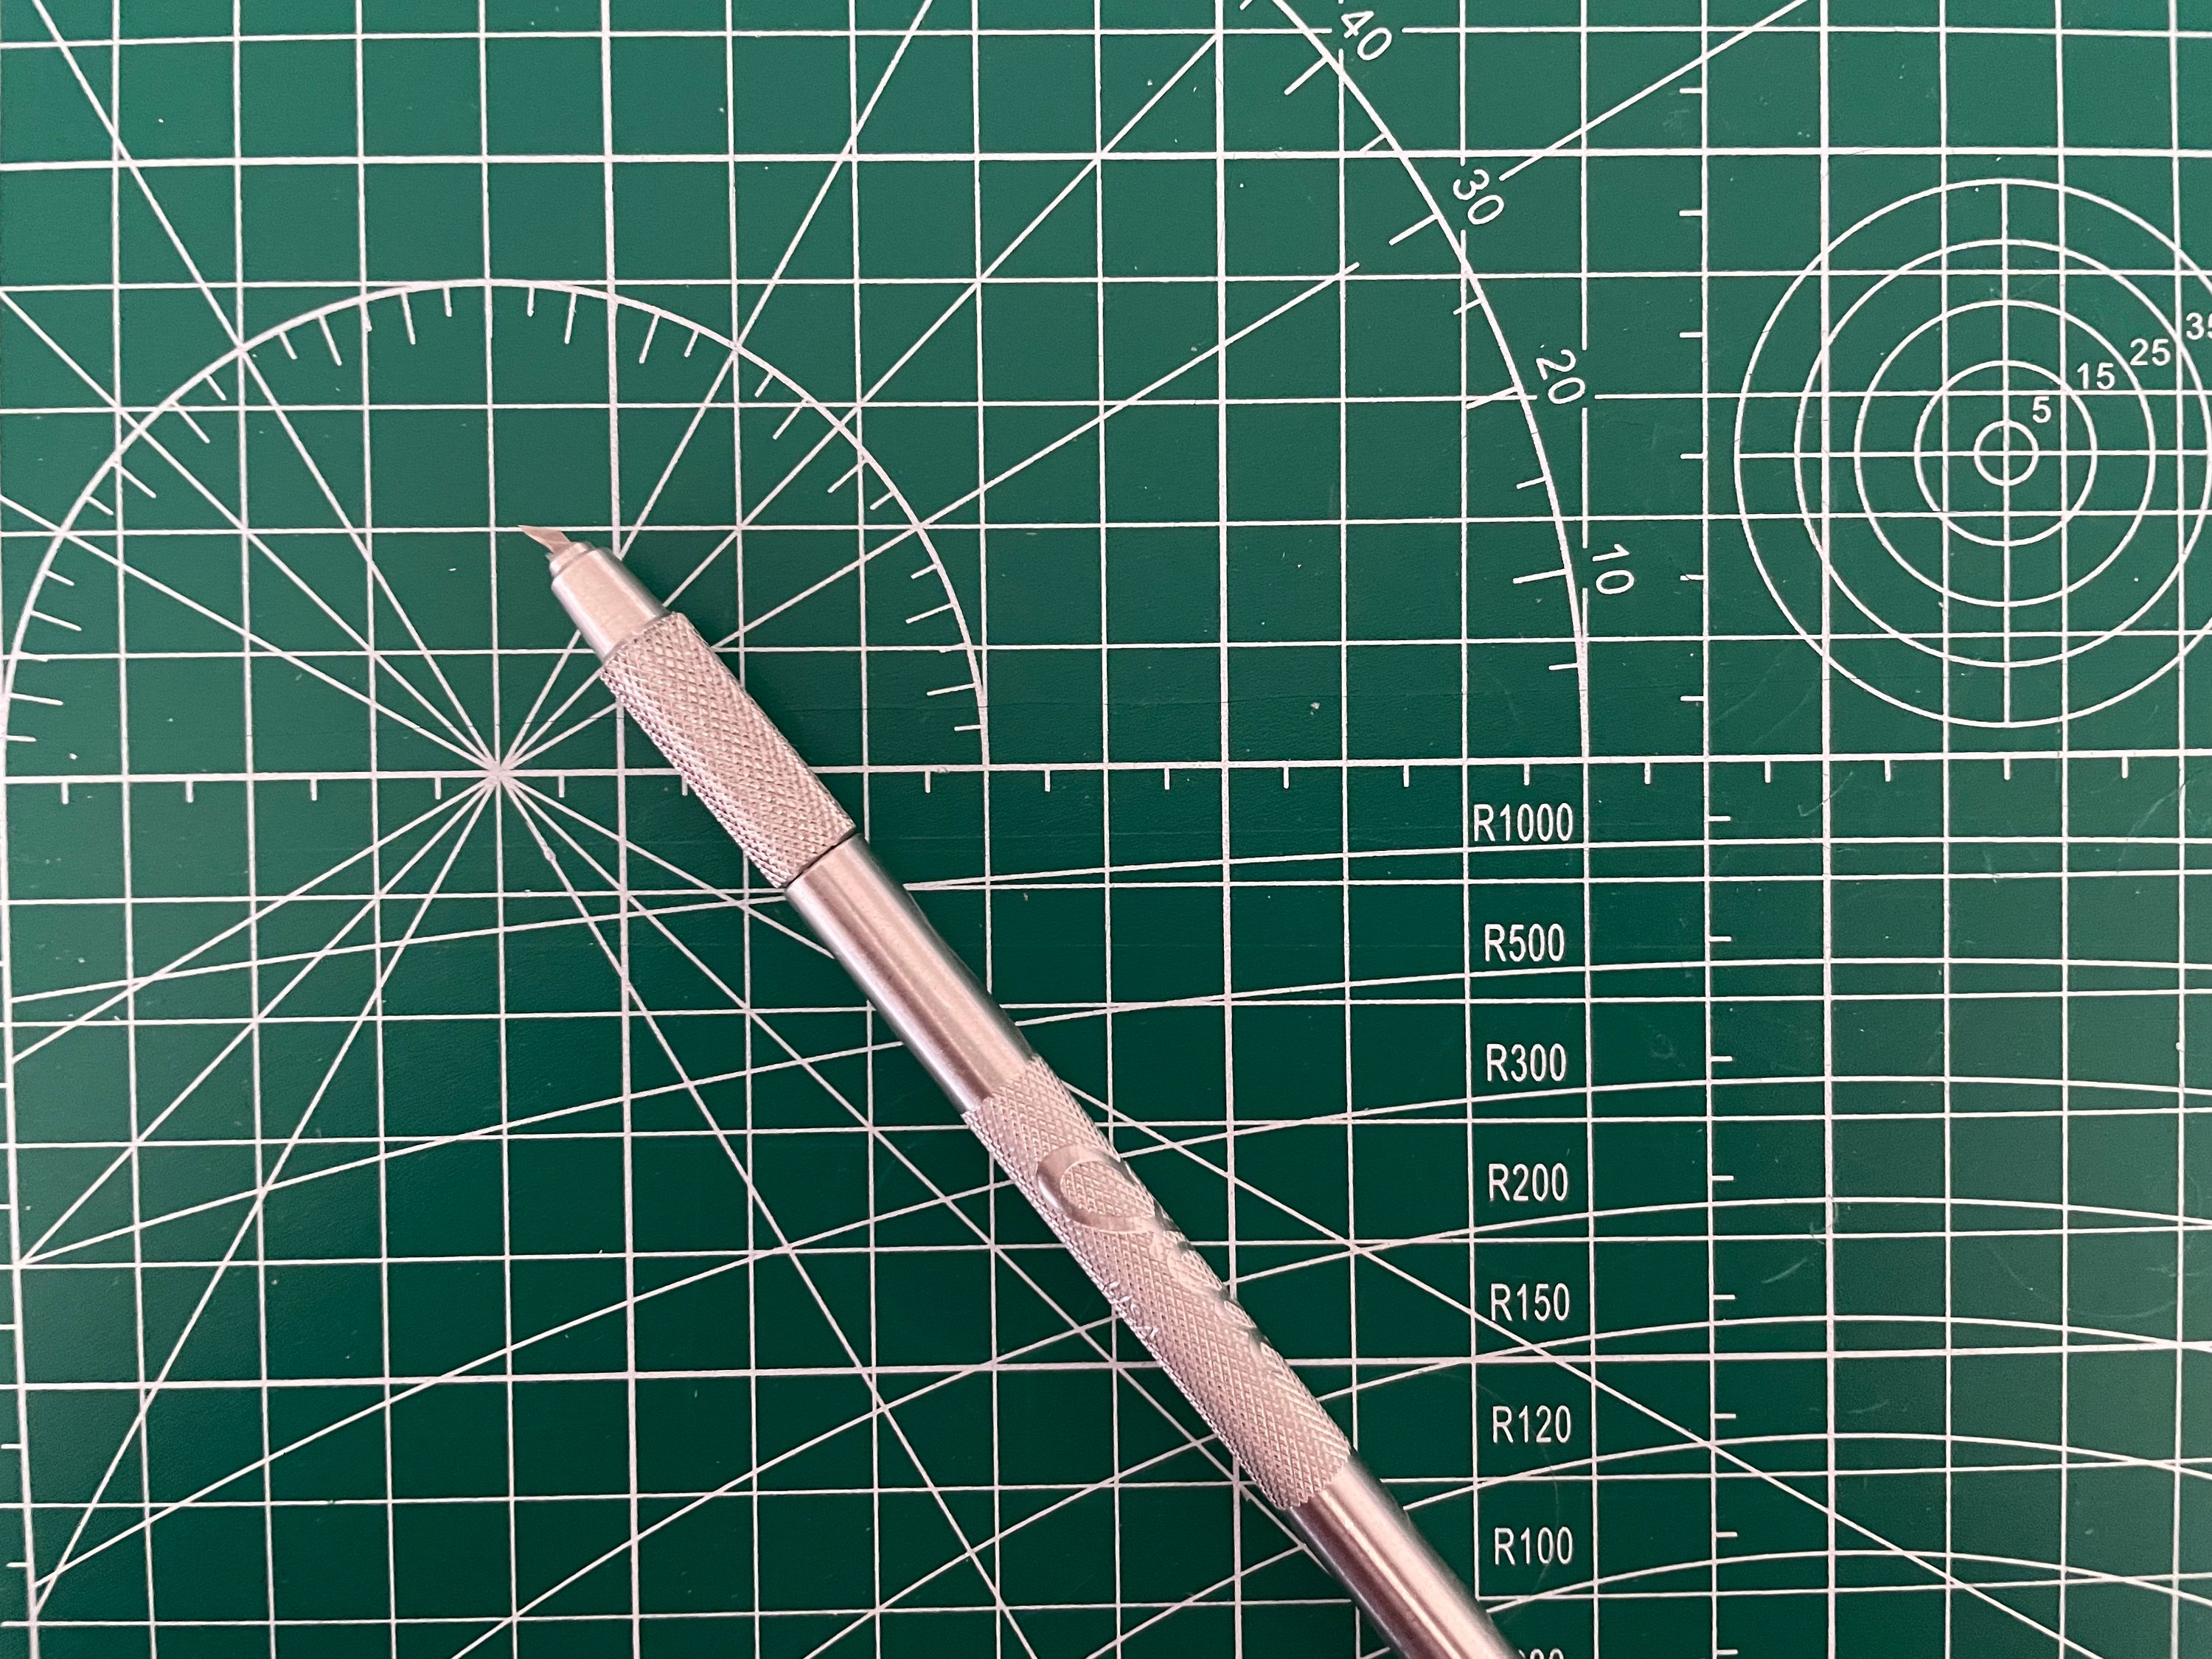 A hobby knife that spins 360 degrees
It had many of the same problems as the circle cutter. It wasn’t sharp enough and I found it difficult to be consistent. I actually think my freehand results with a standard, sharp X-acto blade were comparable if not even better than the combination of the circle cutter and rotating knife:
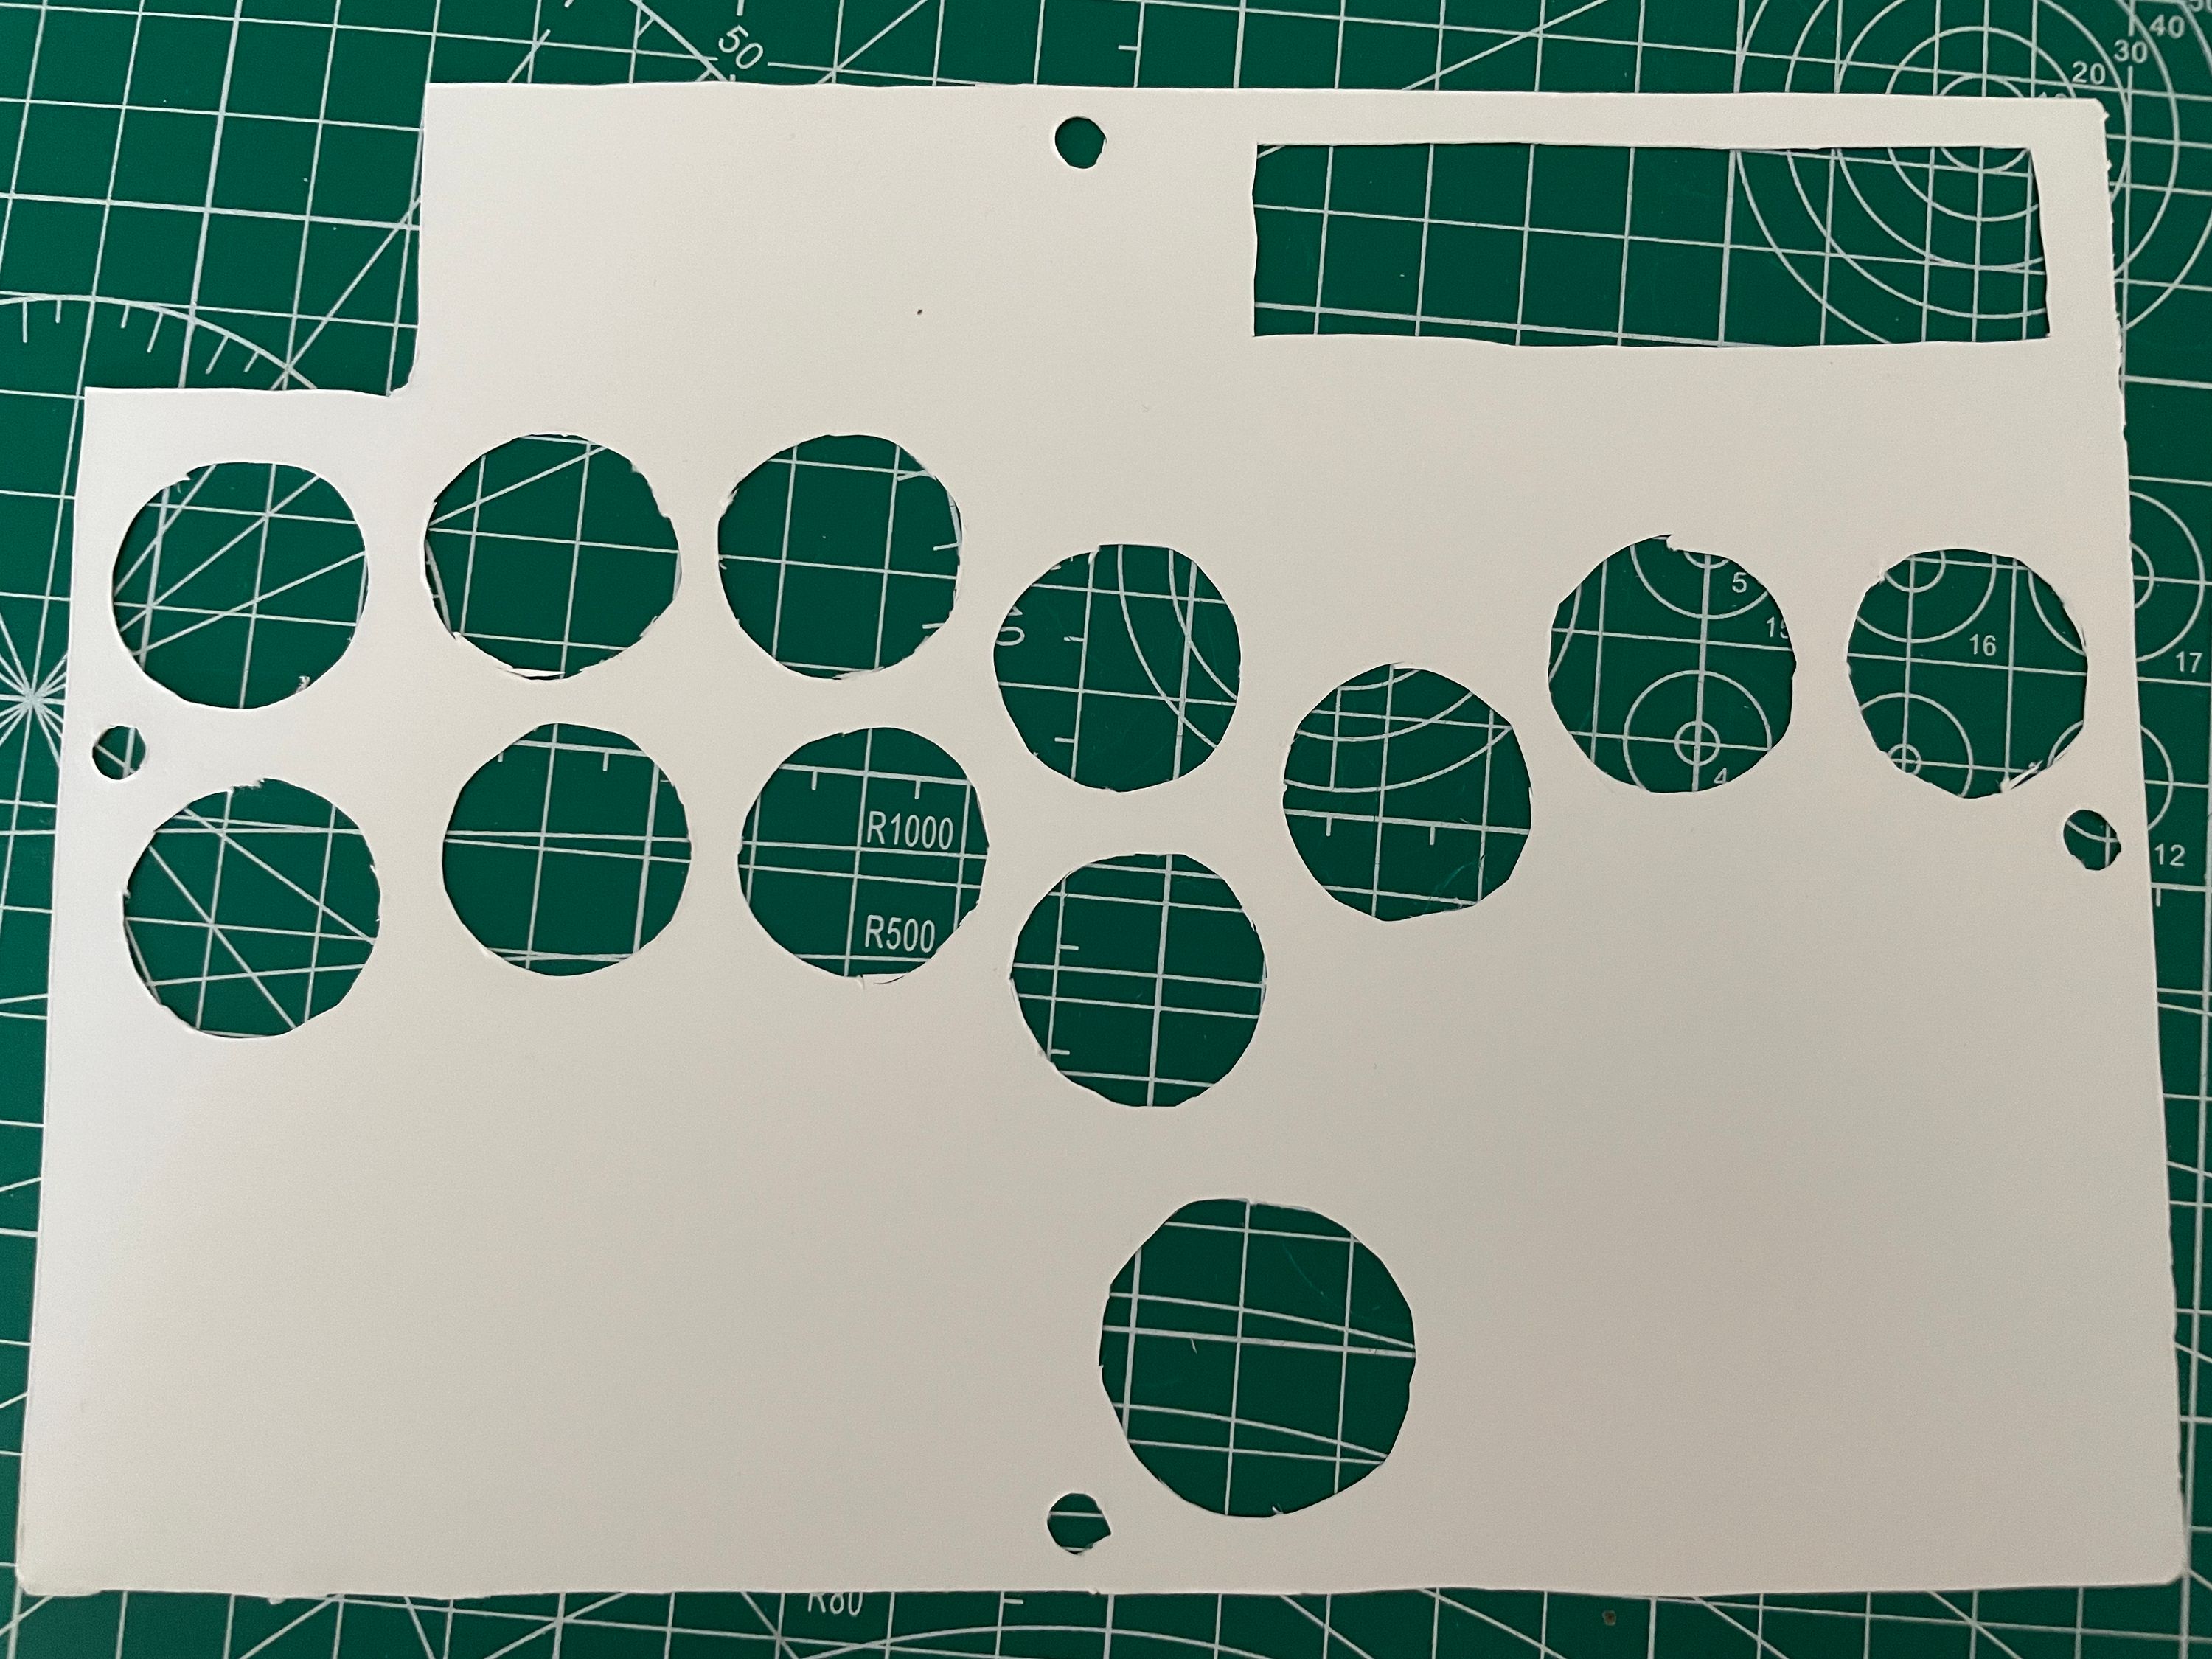 Using special tools looked almost the same
I was starting to lose my mind over this. I was so close to the end, but I was being foiled by cutting shapes out of paper like an eight-year-old. Surely there had to be some better way.
Finally, I decided to try a hole puncher. Conceptually it’s similar to the hole punchers eight-year-old me used, but more intense.
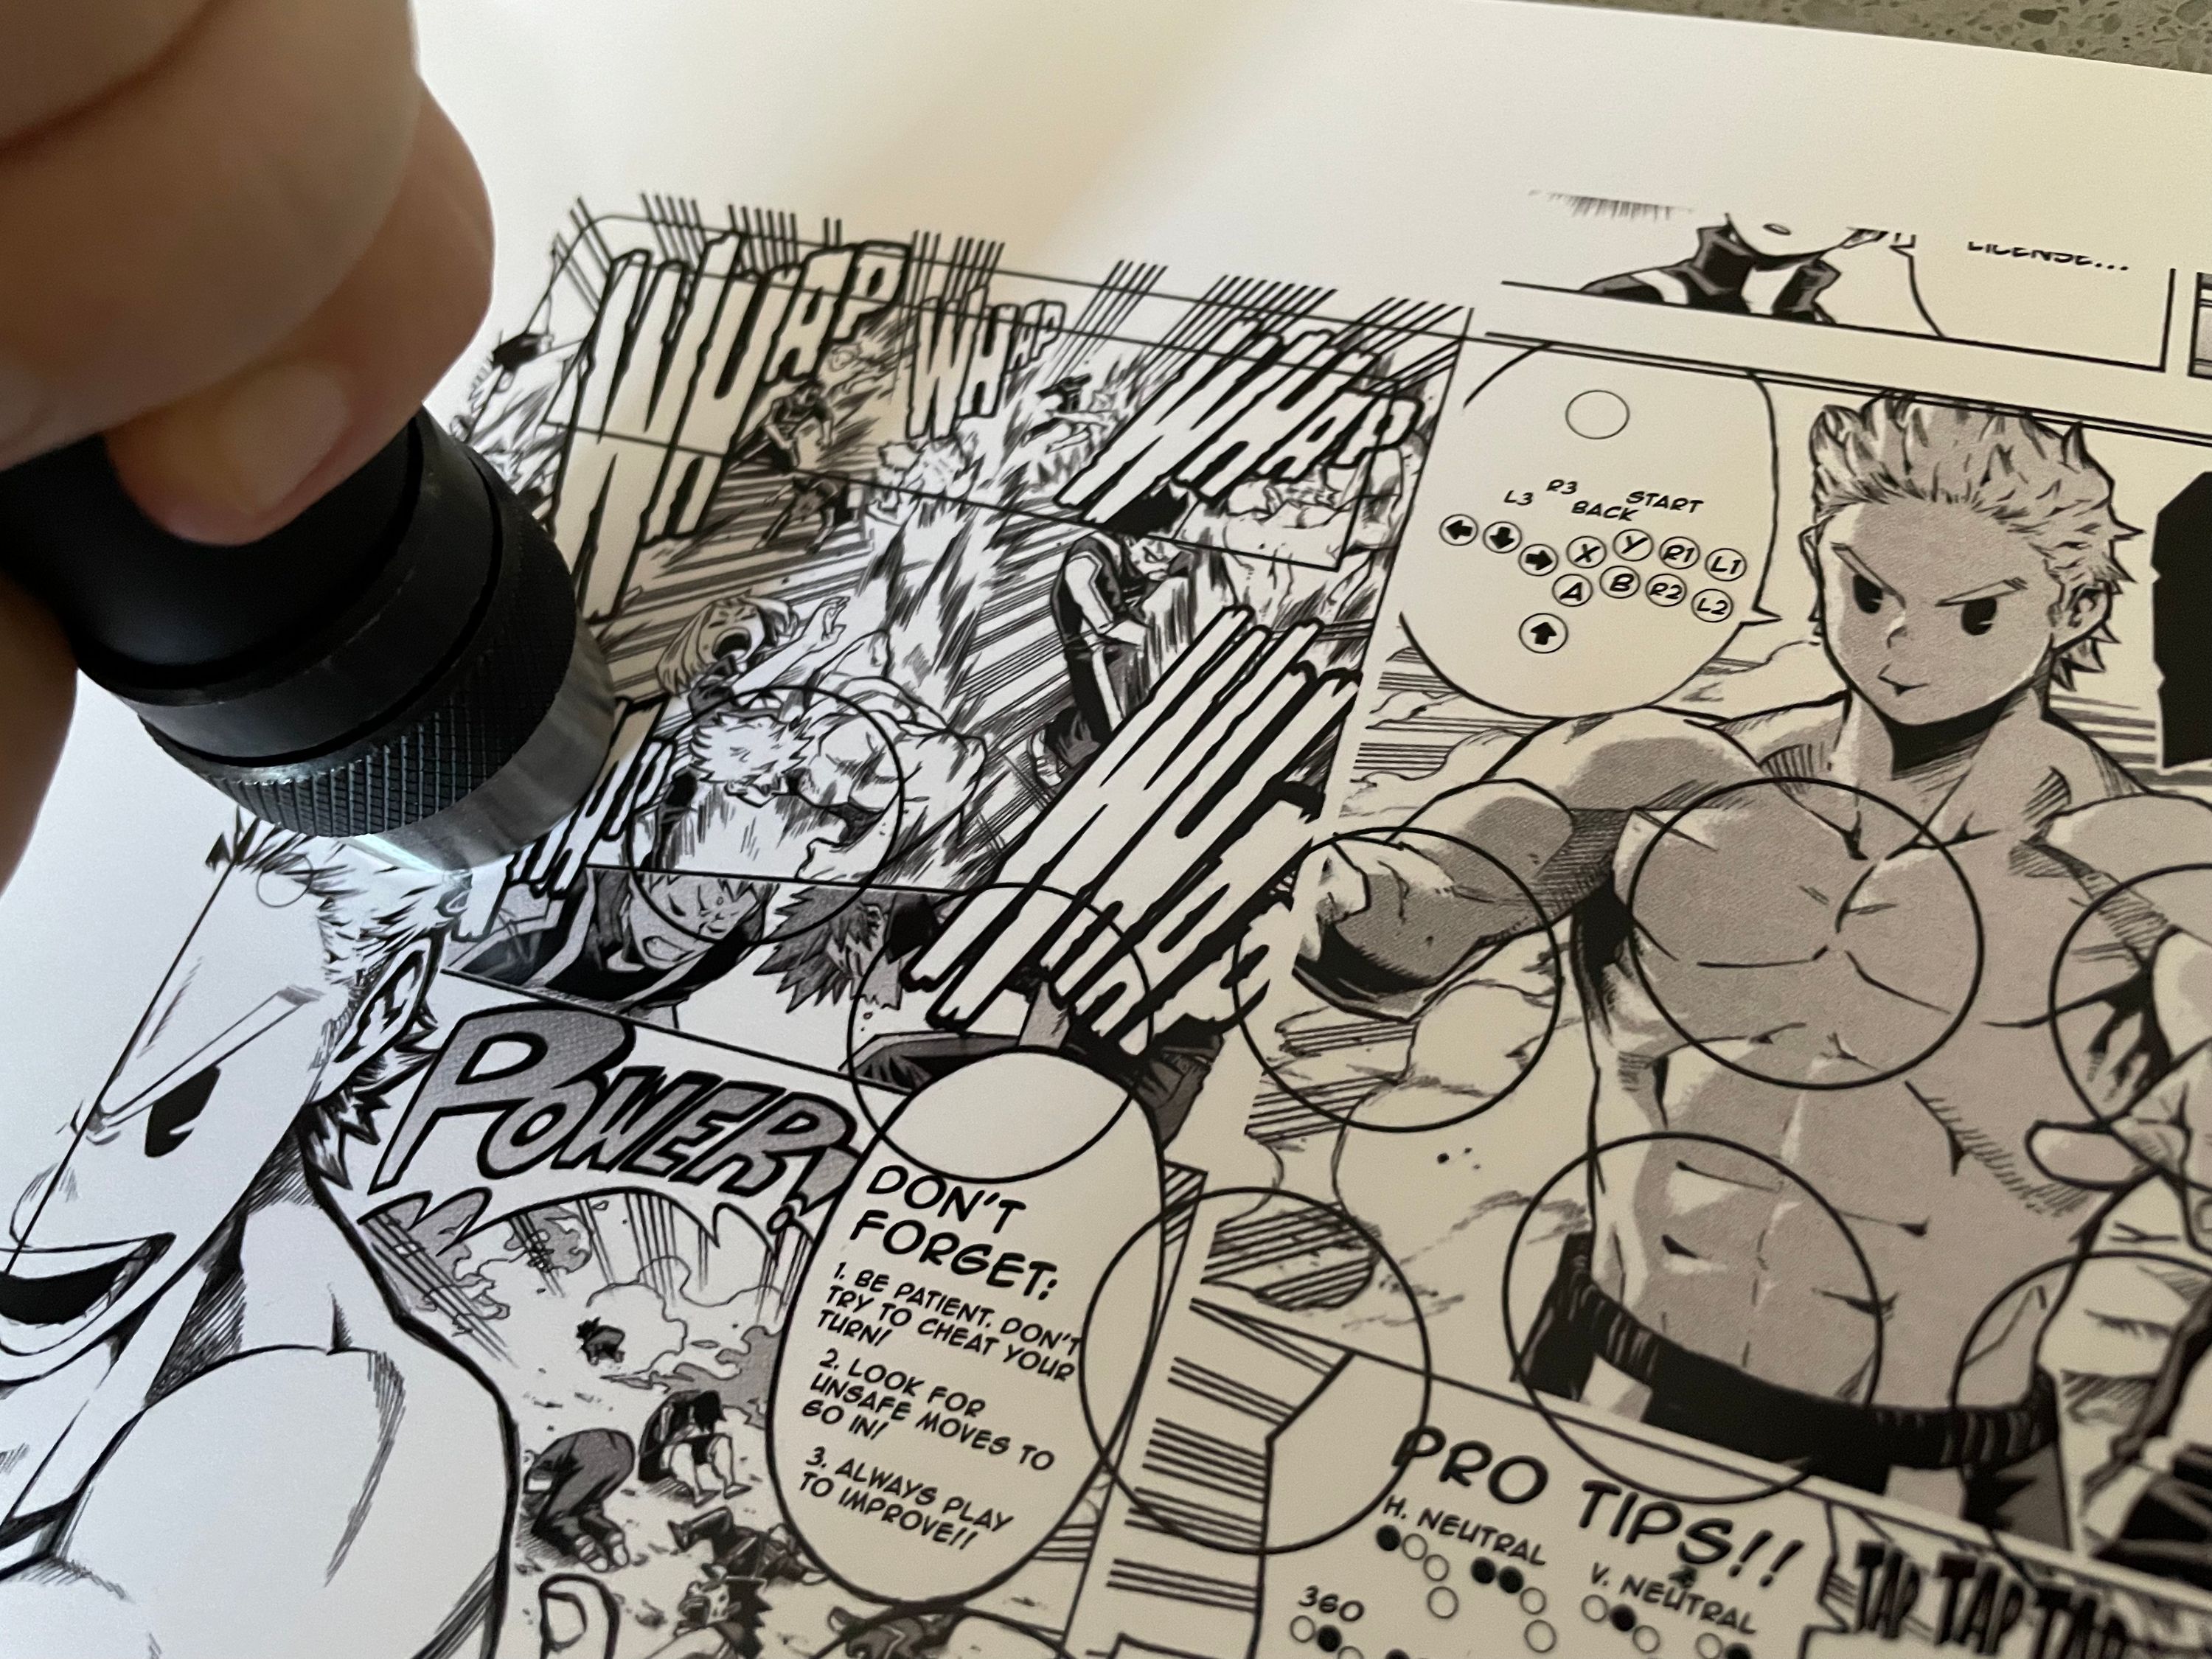 The only somewhat tricky part is lining it up right
You line up this sort of massive syringe-like tool with the proper bit attached at the end and hammer the top of it. I can’t express how happy I was the first time I lined this thing up, gave it a couple of whacks, pulled it away, and a cleanly cut circle slid right out of the tip of it. Finally I had found a solution that would work. As a bonus, I could work out my frustration over my other attempts while I hammered away.
The final results
I ended up calling the project, the EXPress. I made three of them: one for me and my partner, and one for my friend (not pictured).
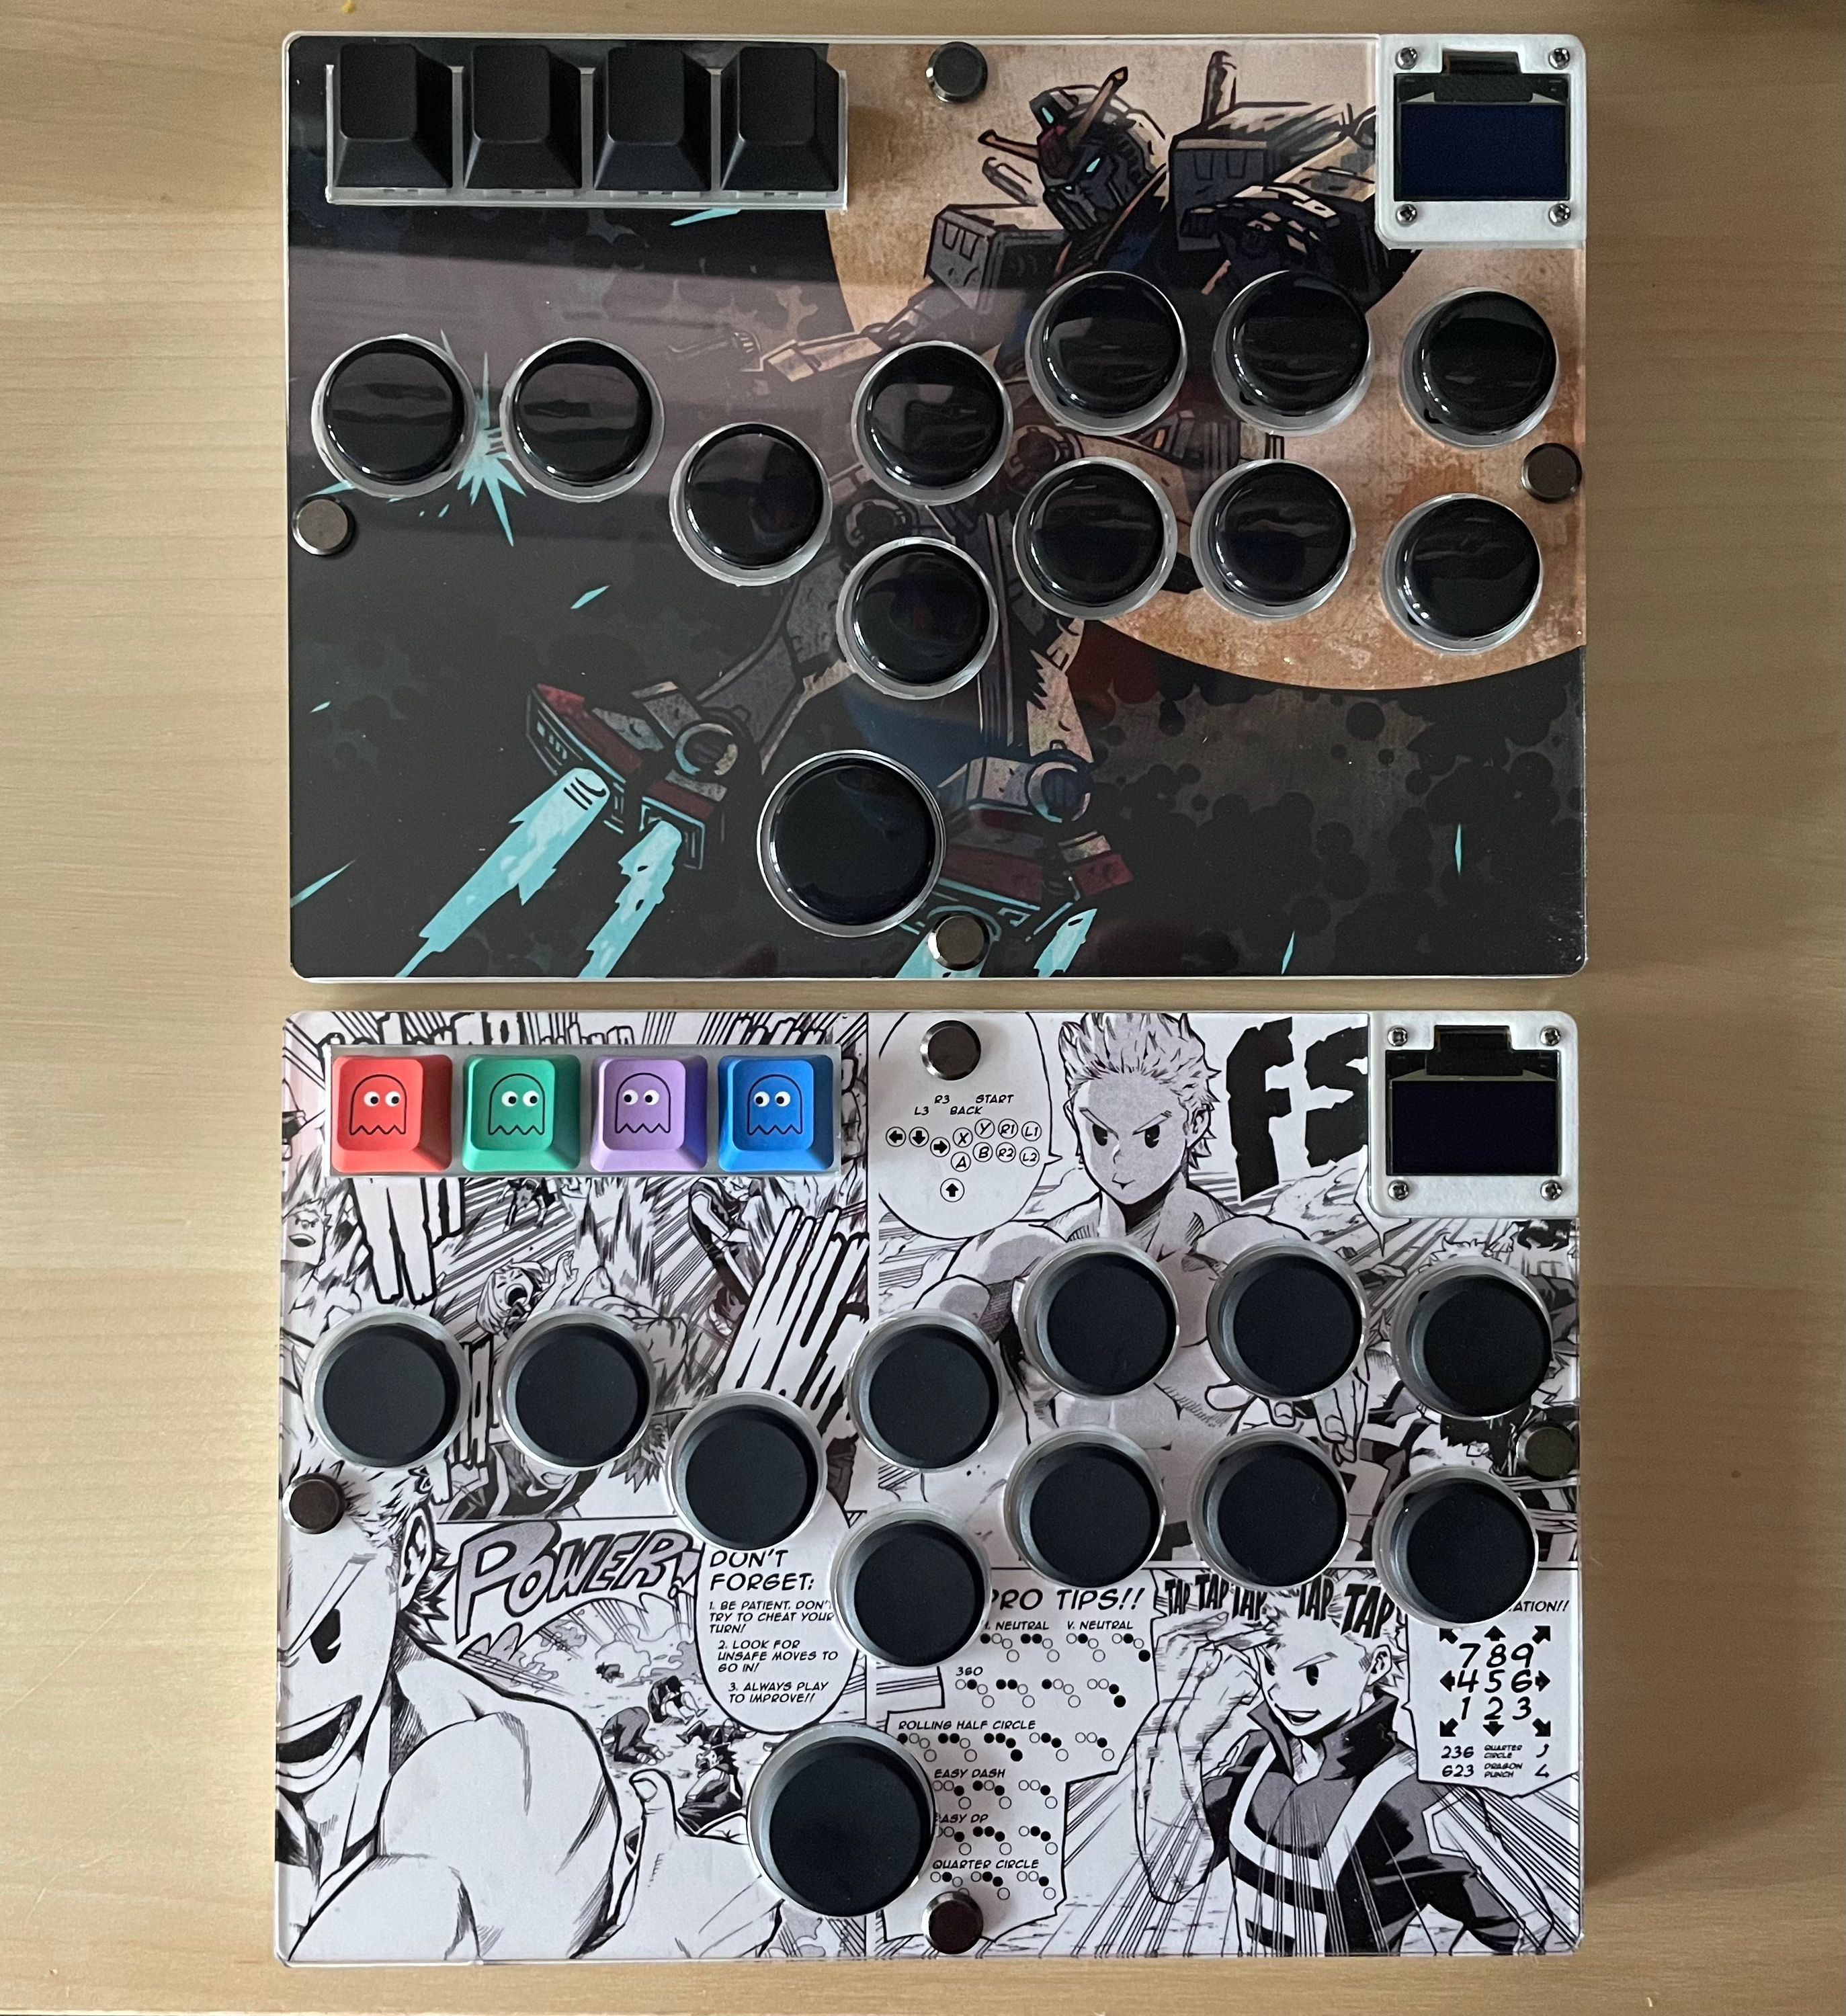 Two fully complete controllers
I’m quite pleased with the results. This is very close to exactly what I pictured when I first set out to design this. Of course, in the time it took me to finish this project, the landscape of buyable and other open-source controllers has grown substantially. If I were starting today, I probably could have just found something close enough to buy.
I don’t mind that, though. This project was never about being the first to market or anything like that. It was about making a controller I wanted and it was a way to train my creative and maker muscles. I learned how to use KiCAD and Plasticity. I ordered 3D printed and laser cut parts. I learned a bit about PCB manufacturing when my PCB fabricator complained about my files.
Holding these controllers in my hands is immensely satisfying, knowing that every part of them came from me. They are the physical result of hours upon hours of thought and work.
Now, to play some games.